Whether you’re sprucing up your entryway or simply upgrading, fitting a letterbox plate is easy with the right know-how. In this article, we’ll guide you through the process. From gathering the tools to perfecting the ideal placement, we’ve got you covered.
So, if you’ve been wondering how to fit a letterbox to your door, keep reading!
Table of contents
Preparation and tools
Before you begin, there are a few key things you will need to obtain and do.
What you will need
- Tape measure
- Pencil
- Jigsaw (and blade suited to door material)
- Fixing bolts/studs
- Bolt shank
- Letterbox
- Pad saw
- Narrow chisel
- Mallet
- Nuts
- Hacksaw
- Hinge-pin
- Sandpaper (or other abrasive paper)
- File
- Drill
Typically this sort of installation shouldn’t take too long. Especially with the use of a jigsaw for ease of gutting the space for the letterbox. If you’re an experienced DIYer, you can usually install a front door letter plate in an hour or less. You can still get the job done within an afternoon even if you’re not experienced.
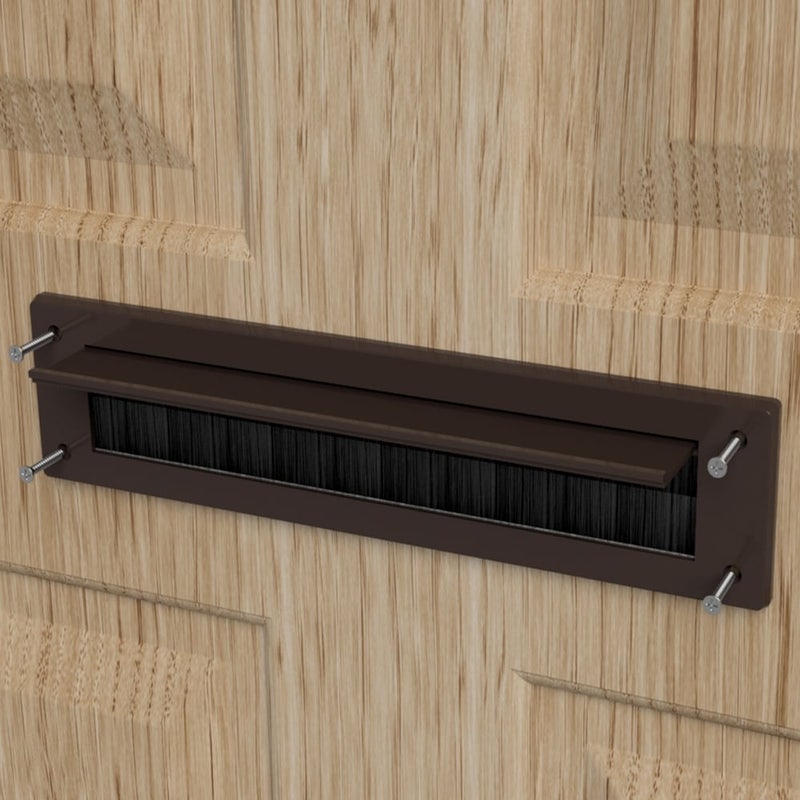
How do you fit a letterbox on a front door?
Here is a brief step-by-step for preparing the space for the letterbox.
Step one: Locate the centre and mark the letterbox hole
A door letterbox is typically placed at the centre point of the outside of the door level with a handle for ease of access.
Using your tape measure, measure the width and height of the door and mark the midway points of both.
Following that, mark where the opening will be cut for the letterbox around the midpoint, making sure it is a bit larger than the hinged part of the letterbox.
Note: Use a ruler and spirit level to ensure the edges are straight.
Tip: Draw a short vertical line upwards from the midpoint that is half the height of the final letterbox to create the rectangle from there.
Step two: Drill holes in the four corners
At each corner of the newly drawn box, drill a hole using a drill bit large enough to create a hole where a blade of a pad saw or jigsaw can be placed – typically this be about 8mm.
Step three: Saw the letterbox hole
Now with the blade of the pad saw or jigsaw, carefully cut into one of the corner holes and follow the rectangle shape to cut the space.
Note: Make sure to stay inside the lines as future filing steps will correct bumps in a later step.
Cut recesses for the hinge pin in the new opening using the narrow chisel and mallet.
Step four: Sand the hole
Clean the corners of the opening using abrasive paper and/or a file to smooth the edges.
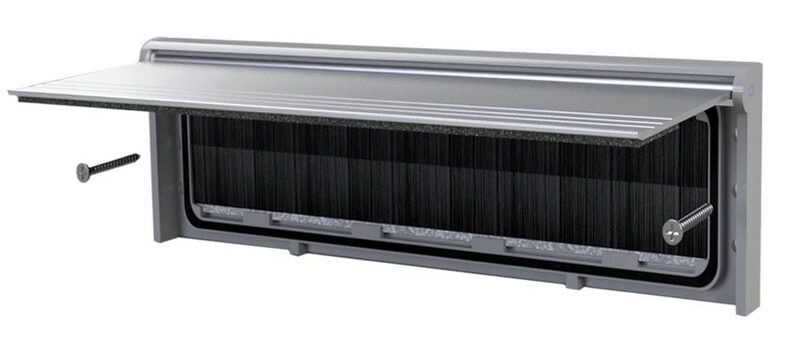
Step five: Mark and drill holes for the fixing studs
Mark where the fixing bolts/studs will be placed on both sides.
Drill pilot holes in the marks you have made for the fixing bolts/studs, making sure they’re slightly larger than the diameter of the bolt shank – around 6mm is advised.
Step six: Screw up nuts
Check the letterbox fits in place and, once confirmed for a smooth fit, place the letterbox in the doorpost hole and install it permanently with the nuts.
Note: If the bolts are longer than the door’s thickness, use your hacksaw to shorten them as necessary.
There you have it! A newly installed letterbox.
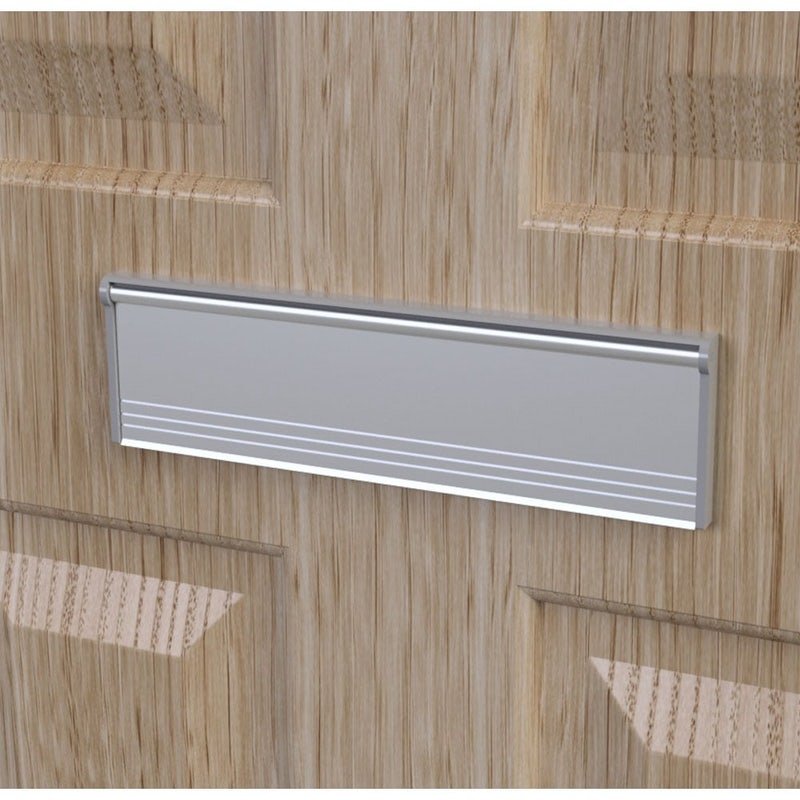
A letterbox isn’t just an additional feature of a home, but a key component of everyday life. Get to fitting your letterbox today and enjoy seeing the new feature in place and use for your property.

Was this guide useful?
Mentioned in this project guide:


