
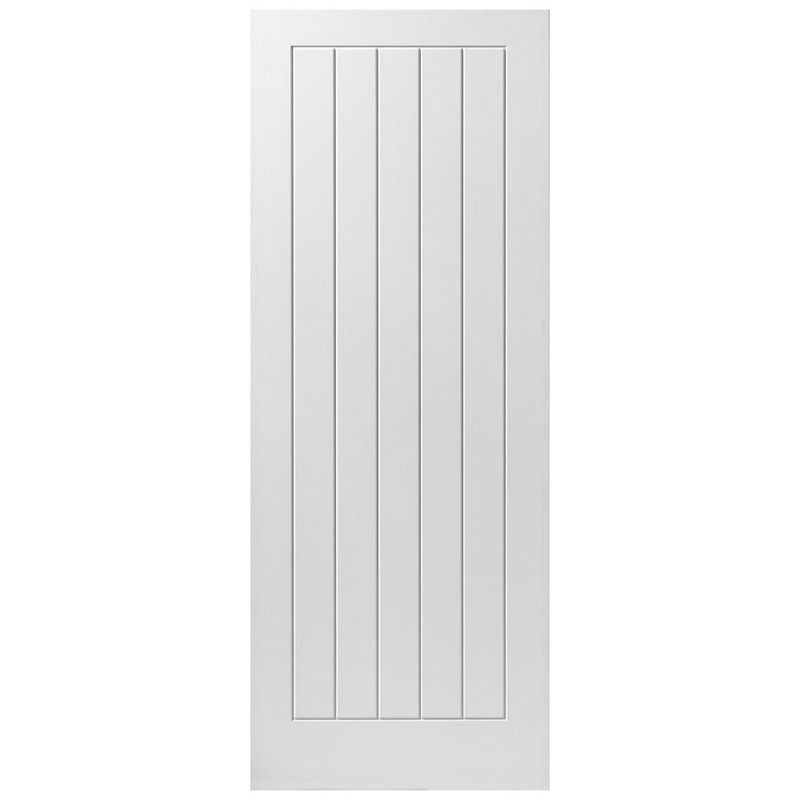
If you love the barn aesthetic, you’ll love the barn door. A barn door is a classic design that offers a traditional barn appearance with a modern twist. So, how do you fit a barn door?
Here is your guide on how to fit a barn door to help you ensure it fits nicely into your home.
Table of contents
Key considerations for installing a barn door
Barn doors have become exceptionally popular in the UK. As mentioned, a barn door offers a twist on the traditional door and adds a unique difference.
Installing a barn door isn’t difficult. However, like with any installation, there are things you need to consider. That includes before and during the installation itself. So you will need to consider the following:
Make sure there is enough wall space
Is there enough empty wall space for you to install the door into? This is key as the door will be sliding into the wall itself.
If there isn’t enough room, you risk not being able to install the door in place or installing it. You also won’t have any space to move it into the hole in the wall; thus obstructing the doorway.
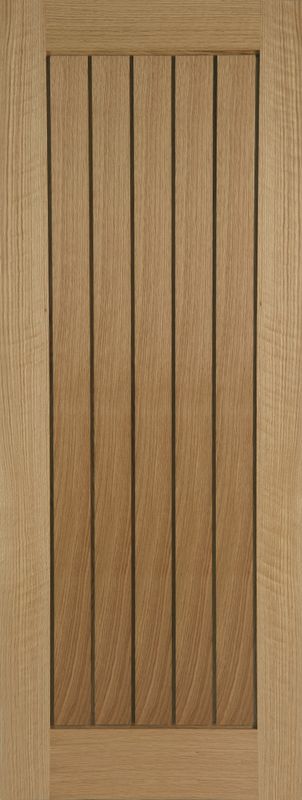
Note: Installing a double door barn door will need both sides of the wall to have open wall space. Check out the different barn door styles available to find the right one for your space.
You must relocate any electricals from the open wall
Open wall space means no obstructions. You must move anything electrical, e.g. electrical outlets or light switches. If you don’t, you cannot install your new barn door.
How long should a barn door track be?
The width of the opening of the barn door will determine the track size. Although you can adjust track sizes or specific hardware, make sure to get as close a match as possible. This will help avoid future issues.
How far out from the wall should a barn door hang?
A general rule is the barn door should have at least an inch to three inches of overhang on both sides of the opening.
How much bigger than the door opening should a barn door be?
You’ll need at least half an inch to one inch at the top of the door. Although this will depend on the track which is typically installed a few inches above. So make sure to factor this in.
The measurement at the top of the door will affect the bottom measurement. Ensure you have your door hanging with at least ½ inch of space between the bottom of the door and the floor when hung on the track. This ensures a clean side-to-side movement when the system is fully installed.
How to install a sliding barn door
Keep in mind that barn door kits are available if you need the hardware. This means you may not need all tools and products listed.
You will also need to make sure you know which method of installation you choose when it comes to fixings. So check the steps before moving forward.
Always check manufacturer instructions as they may vary.
What you will need
- Barn door
- Wall stud finder
- Tape measure
- Pencil
- Metal track
- Timber piece (if needed for mounting board/backer board/support beam)
- A flat work surface
- Sawhorse (optional)
- Paintbrush
- Wood primer
- Paint (optional)
- Wood screw
- Screwdriver
- Drill and drill bit
- Level
- Step ladder
- Bolts
- Nuts
There is more than one stage to hanging a barn door. We have specified these stages throughout the guide; starting with the following stage:
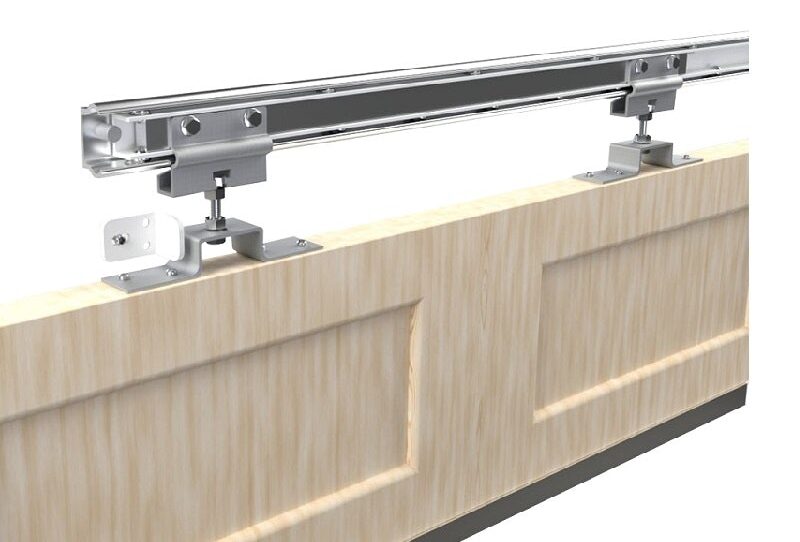
How to install a mounting board and metal track
A metal track is one of the main parts of a barn door system. Hence why it is typically the first piece installed. The mounting board (also known as a backer board or supporting beam) is typically an extra piece. This ensures a one-inch space between the wall and the barn door.
Step one: Grab some pressure-treated timber
Cut a piece of pressure-treated timber that is one inch thick to the length and width of the barn door’s track.
Step two: Lay the timber on a flat work surface or sawhorse.
Doing this will allow you to paint and prime it to match the wall or trim colour.
Step three: Look for any wall studs
Using a wall stud finder, identify the wall studs.
Tip: A single door requires between three or four inches up on the hinge side of the door opening. This continues for the length of the mounting board. Double door studs need both sides of the studs located.
Step four: Lay down the mounting board
Lay down the mounting board and mark where the studs are with tools such as a pencil.
Step five: Pre-screw screw holes in the mounting board
Using a drill, pre-drill screw holes in the mounting board where you have placed the marks.
Step six: Sit the metal track to the mounting board
Place the metal track on the mounting board and mark starter holes.
Step seven: Remove the track and drill starter holes in each track
Remove the metal track, set it aside and drill starter holes in each track.
Step eight: (May need assistance) Screw the first end of the mounting board
(You might need help with this part) Using a wood screw, screw the first end of the mounting board to the wall.
Step nine: Level the mounting board
Level the mounting board (checking the straightness with a level). Then use wood screws to screw in the remaining sections of the board.
Note: If you want or need a flush appearance, cover the screw heads. You can do this with wood filler and then, once dry, cover it with paint.
Step ten: Attach the mounting board
Place the metal track onto the mounting board. Align the track holes with the pre-drilled holes and attach screws.
Step eleven: Add stoppers to the track
Install stoppers onto the metal track. Slide them onto each end of the track and screw them in place.

How to install a metal track without a mounting board
When it comes to concrete walls, you can place a metal track without a mounting board. This will depend on whether the studs line up correctly with the track mounts.
If you want to move forward without a mounting board, make sure the track is levelled where you want to place it. Mark the mounting holes on the concrete wall as you would if marking them on the mounting board. Then use a masonry bit to pre-drill the holes for the fastener.
How to prepare your barn door
This is the second stage of the barn door installation. It offers you a chance to make sure your barn door is ready to hang in place with your newly installed metal track.
Step one: Take rollers, the pieces that will allow the door to slide, and attach them accordingly.
This will vary with manufacturer instructions, but typically they can be screwed or bolted on the top surface of the door.
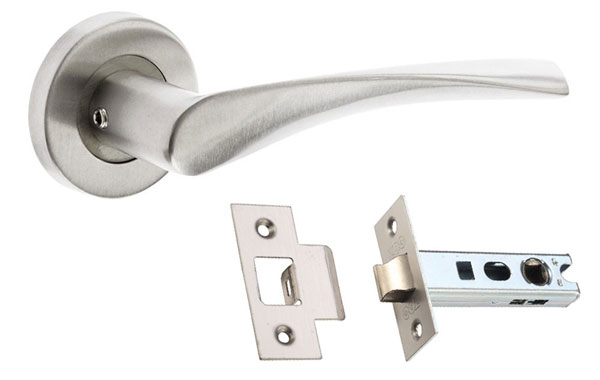
Step two: Install the door handle
You can find out how to fit a door handle via our guide.
How to hang a barn door
With the track attached and the door prepared, you can now attach your door!
Step one: (May need assistance) Lift the door onto the track
(You might need help during this part) Take your barn door and lift it so the rollers are just above the track.
Step two: Rest the door down onto the track
Gently lower the door so the rollers rest on the track.
Step three: Test the rolling motion.
You can do this by sliding the door back and forth – if there are rolling issues, adjust accordingly.
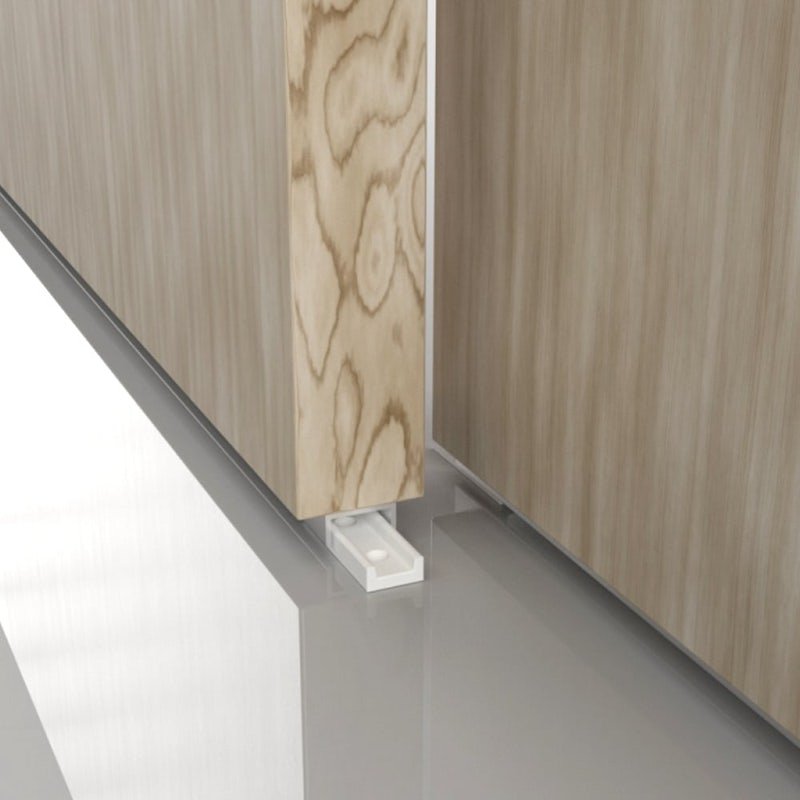
Step four: Secure floor guides to the floor via manufacturer instructions.
There are two main types, including one with a groove. If you use this type, you will need a groove cut into the bottom of the door to allow it to slide in place.
Note: Floor guides will help hold the door in place to stop it from wobbling when open or closed.
By now you should have your brand-new barn door in place – enjoy!
Was this guide useful?
Mentioned in this project guide:


