Door lining is key when it comes to installing a door frame and internal door. With this handy guide, you’ll be ‘lining up’ to find out more about what the purpose of a door liner is and how to fit a door lining like a pro.
Read on.
Table of contents
What is a door lining?
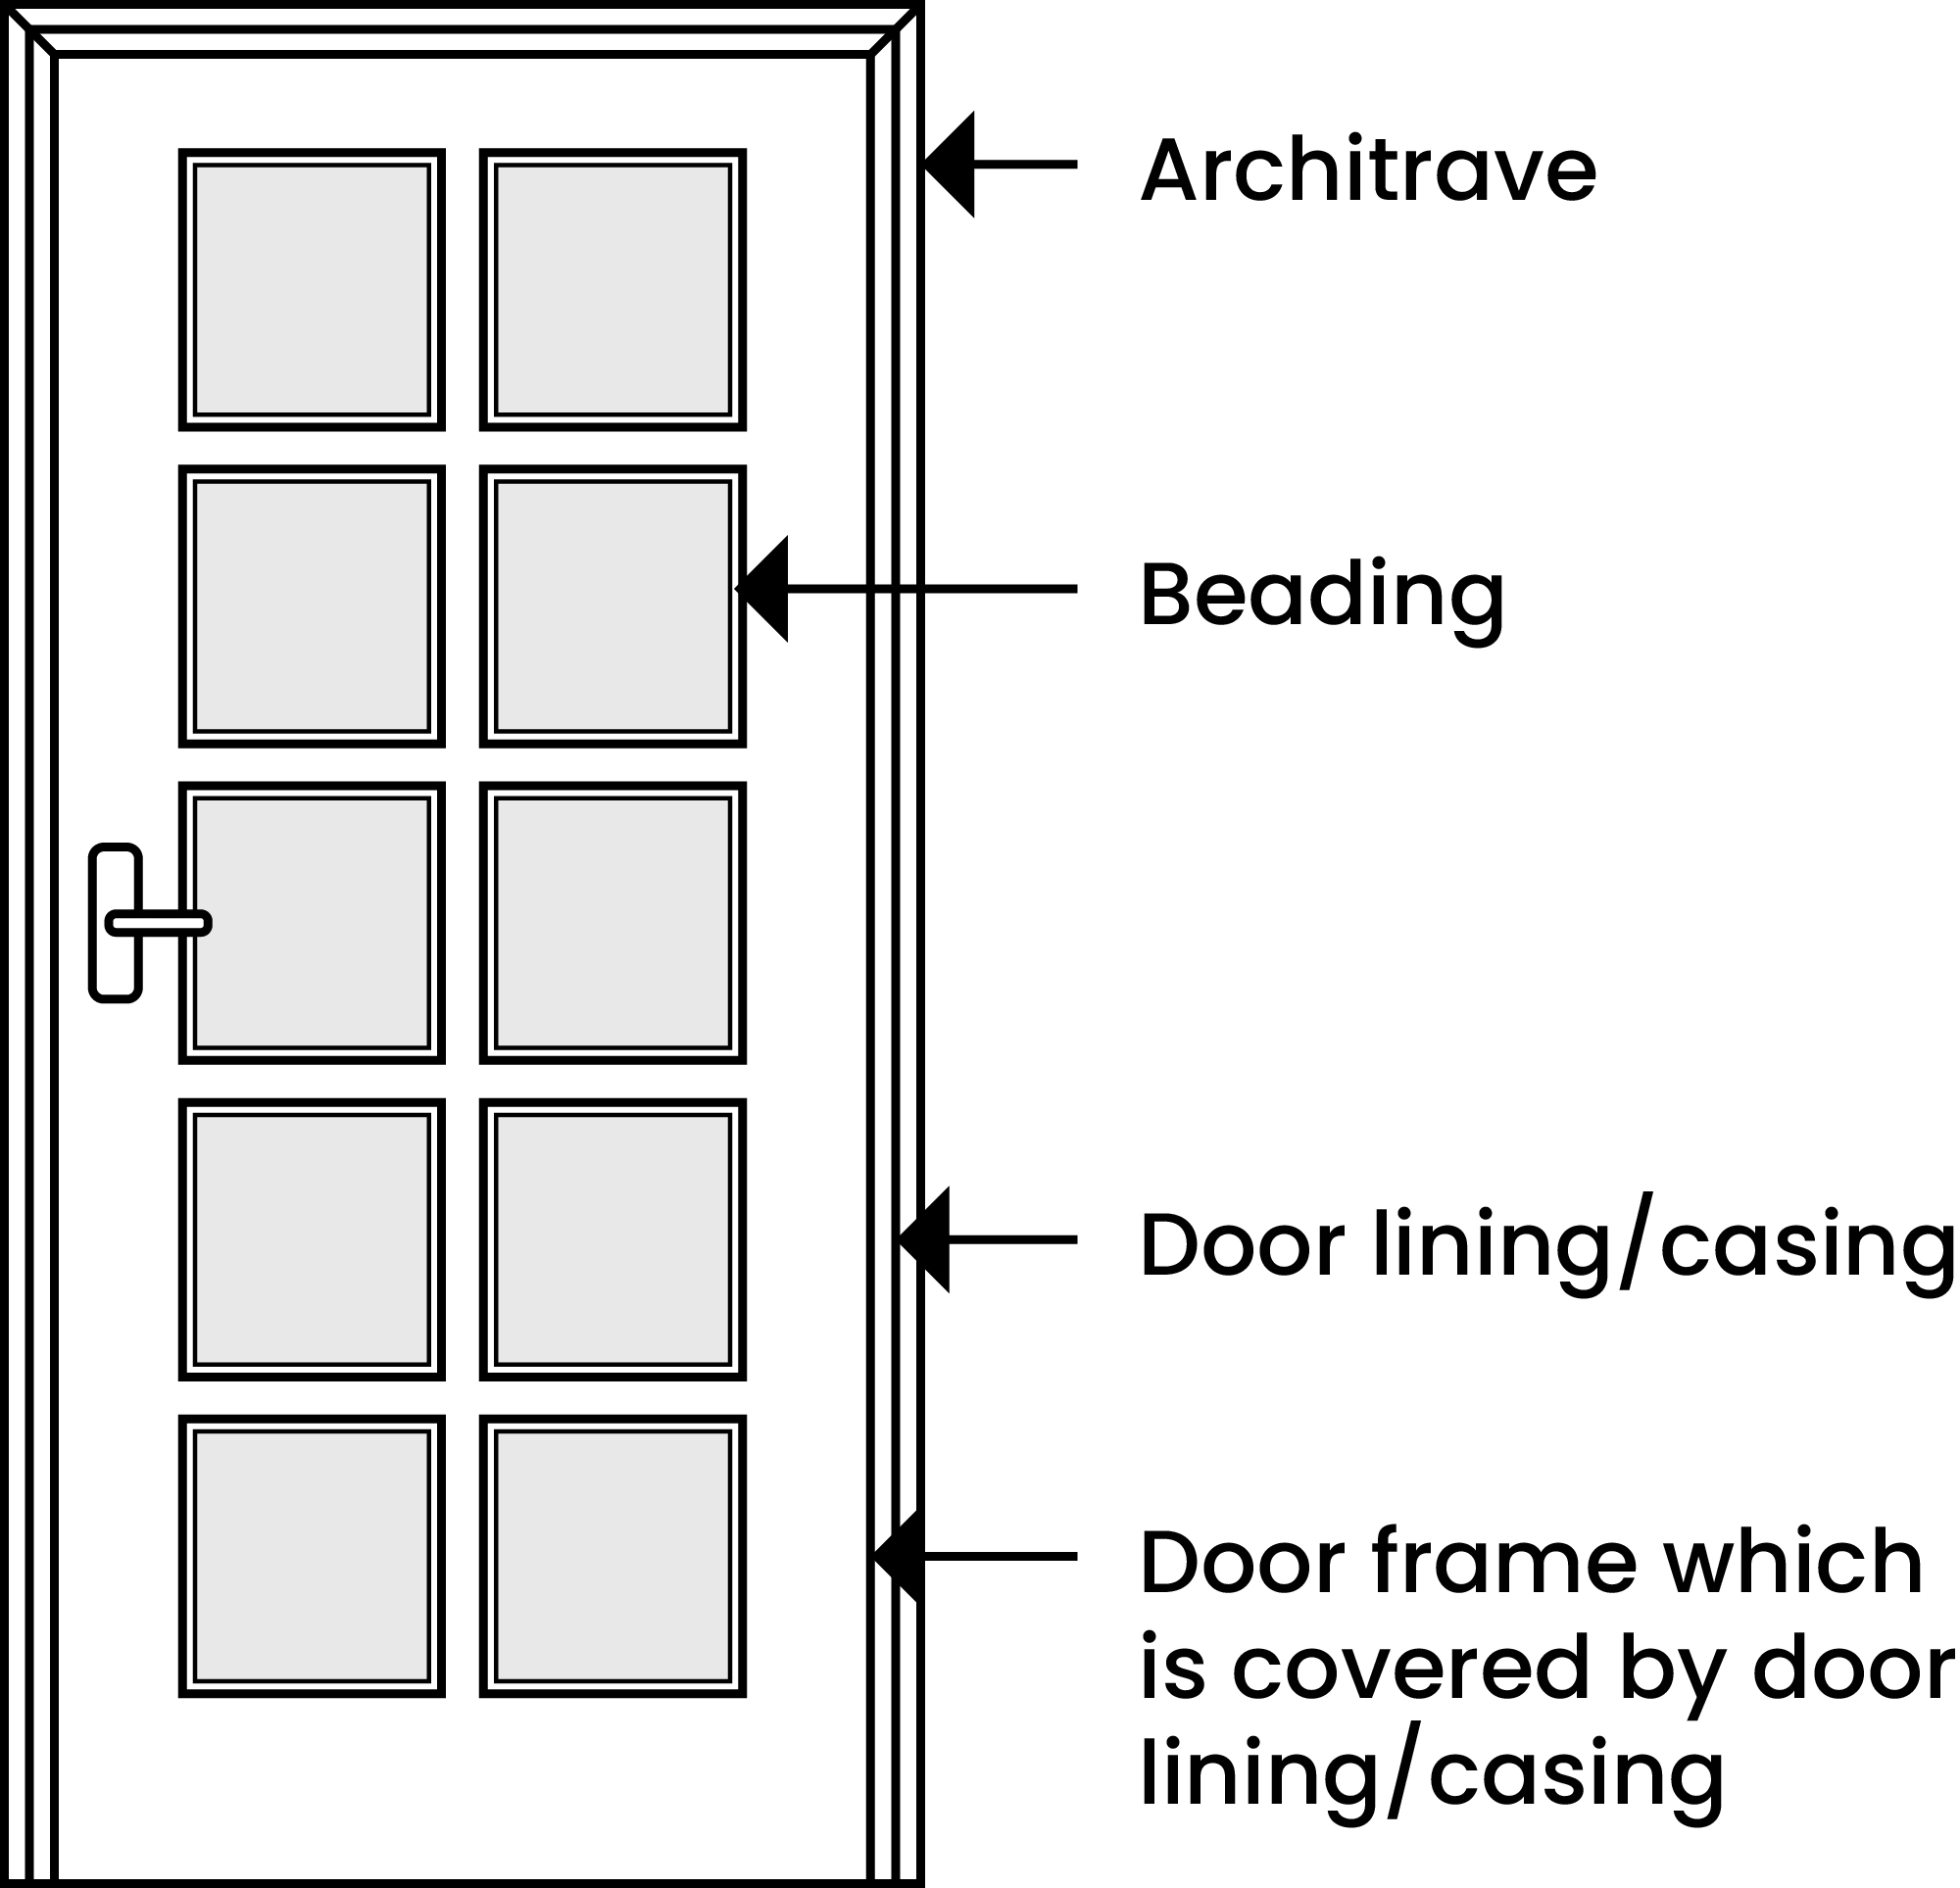
Also known as a door jamb, the door lining is the frame of a door that is used to prevent a door from sticking or jamming. They are also used to conceal brickwork or timber that surrounds the door itself. They are usually made of wood and are not only used to support the door but make it look better as a result.
Preparation
What you need:
- Door lining
- Hammer
- Screws
- Screwdriver
- Saw (or timber-based cutting tool)
- Tape measure
- Spirit level
- Workbench (optional)
Pre-built lining
Luckily, when it comes to the actual preparation and assembly of the door lining, you needn’t have to spend ages measuring and adjusting the parts from plain planks of wood. Instead, many linings today come pre-built which is a plus for a new build. Door lining kits can be great for those who don’t want to make lining from scratch.
Note: Before learning how to fit door lining, make sure to remove any existing lining.
Fitting the door lining
Step 1: Build the frame
You’ll want to lay the frame on a clean floor (or workbench if you have one suitable), somewhere with enough space to assemble the lining. You need to place both jambs into the recesses of the headpiece. A hammer can be used to gently ease them into place. From there, screw each jamb in place with a lengthy screw.
Step 2: Trim the headpiece
In many cases, the headpiece might be wider than needed. You will need to adjust the width of the headpiece to ensure it is not as wide as the opening. Do this by trimming either side of the headpiece.
Note: Don’t trim the headpiece if the lining already fits into the opening space.
Step 3: Brace the lining!
The lining will need to be as level as possible; preferably with the top corners at a 90° angle to fit smoothly into place. The result should be that there is room between the opening and the lining so adjustments can be made when testing the opening and closing of a door.
The completed door lining should be held vertically, with the headpiece horizontal and at the top of the lining. You should brace from the bottom upwards. This will allow you to easily make sure that the height is suitable for the opening.
Measuring corner to corner on a diagonal length means you can easily check the quality of the square shape of the frame. They should be the same. If there is a difference of more than 5mm, check the braces and reposition if necessary.
Note: As long as the headpiece of the lining and jambs are the correct length, you can adjust the lining’s placement as many times as needed.
Step 4: Secure the lining
Measurements are done, so now is the time to fix the lining in place. Secure it in place with screws, making sure it stays in place as you do so, to allow for a secure fit. To make sure it is correct, check with a spirit level to confirm its placement and adjust as necessary if it is needed.
As well as ‘how to fit a door lining’, you can also find out ‘how to fit an internal door‘ and more via our collection of guides.
How to fit a door lining confidently
Fitting a door lining confidently involves precise measurement of the door frame and the lining to ensure a proper fit.
Begin by aligning the top of the lining with the frame and securing it in place with temporary fixings.
Gradually adjust the position and use shims to ensure the lining is plumb and level before permanently fixing it with screws. Regular checks of alignment and adjustments during installation are key to achieving a confident and secure fit.
And now that you how to fit a door lining, you’re in a good place to take on this project!


