
Draught excluders are designed to support the minimisation of heat loss in the home via external doors. As the name suggests, they prevent draughts from entering the property through gaps in the door.
In this guide, you can learn how to fit a draught excluder around a door and help reduce your property’s need for extensive heating use and save money on your energy bills!
Without further ado, let’s dive right in.
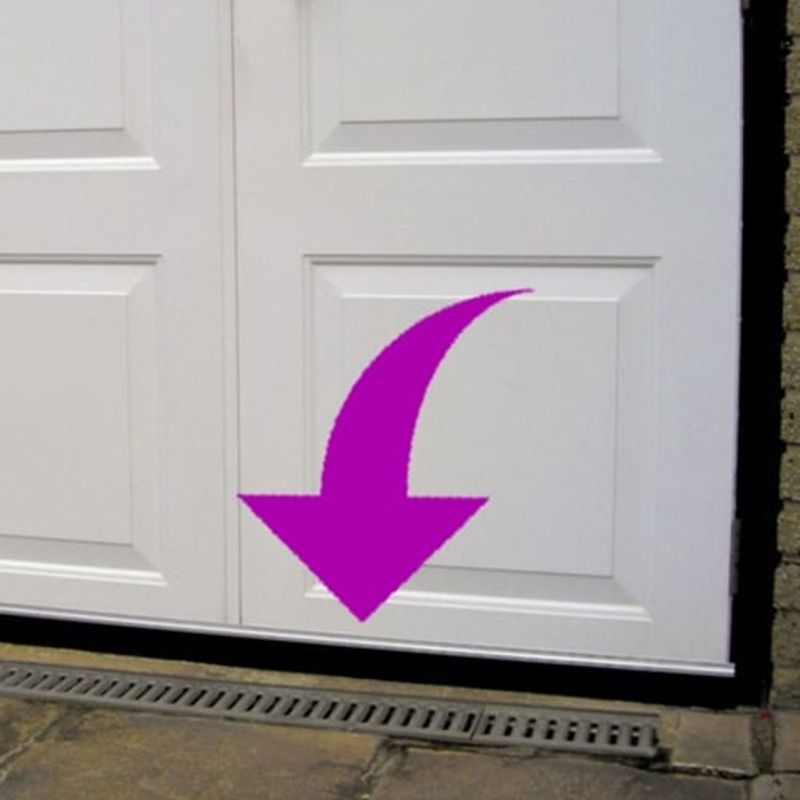
Table of contents
- What is a draught
- What you need
- Fitting a rubber strip draught excluder
- Fitting a brush strip draught excluder
- Draft excluder alternatives
- Final thoughts
What is a draught?
The definition of a draught is ‘a current of cool air in a room or other confined space’ – the ‘current’ in question being air moving in one direction. This can come from unheated areas of the home or typically from the outside.
That’s where a draught excluder can come in handy!
Types of draught excluder
A draught excluder is typically one that fits on the bottom of a door (example below) made of a plastic or metal fixing plate with thick bristles or a rubber strip attached. They can usually be cut to the size required, continuing to allow the door to open and close as normal; all the while reducing the draughts entering the property.
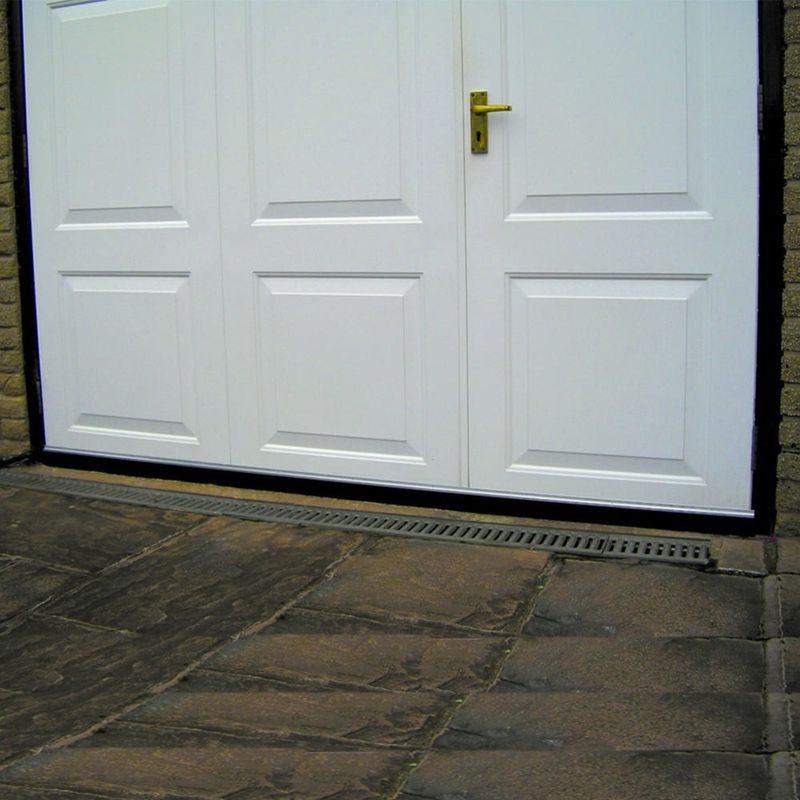
You can also apply draught excluders to garage doors.

What you need
Please note: The items you need will depend on the type of excluder you wish to install. As always, please read the manufacturer’s instructions carefully before getting tools.
With that in mind, here are the necessary tools:
- Draught excluder
- Screws (some excluders may have screws provided)
- Screwdriver
- Hacksaw
- Pliers
- Pencil
- Bradawl
- Drill
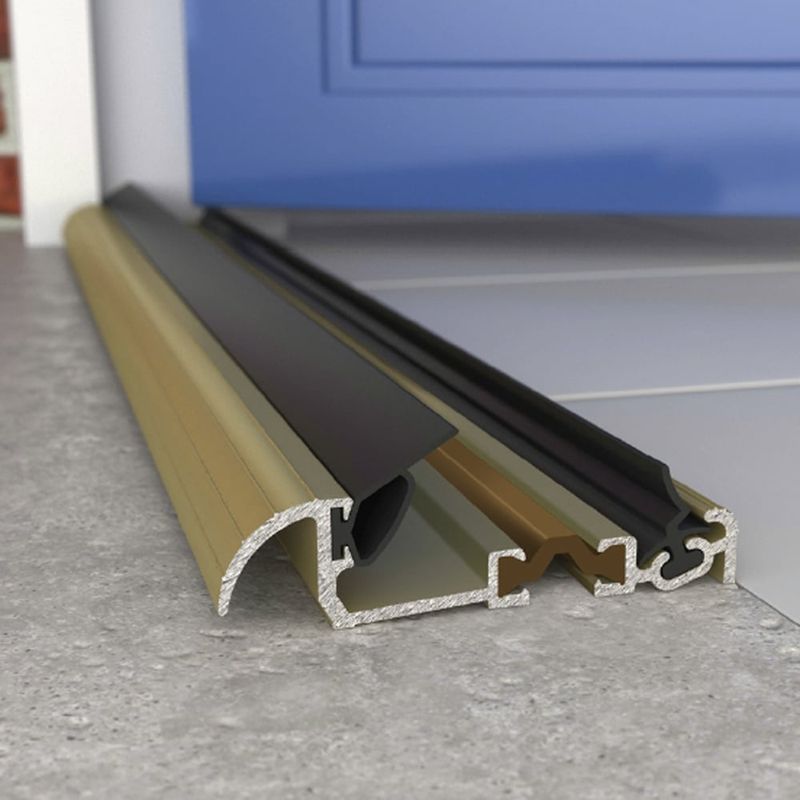
Fitting the draught excluder with a rubber strip
Got everything handy? Simply follow these steps:
Step 1
Measure the door to find the required length for the draught excluder.
Step 2
Slide the rubber strip out of the carrier and cut the rubber strip to size using scissors or a sharp knife.
Step 3
Cut the aluminium carrier to size using a hacksaw, then feed the rubber strip back into the carrier – pinch either end with pliers to prevent the strip from moving in the carrier.
Step 4
Place the draught excluder against the door, making sure the rubber strip closes the draught gap, and mark screw positions with a pencil through the slotted holes to note where to fit the screws.
Step 5
Drill the holes with a pilot bit thickness less than the screw thickness – this allows the screws to fit in easily without damaging the screw heads.
Step 6
Fix the draught excluder to the door with the screws, adjusting up or down as needed by loosening and re-tightening the screws in the slotted holes.
Fitting a draught excluder with a brush strip

Fitting a brush strip draught excluder is a slightly different process from a rubber strip draught excluder.
Here’s how you should go about it.
Step 1
Place the strip against the base of the door and mark the width for adjustments to the brush in the next step.
Step 2
Cut the product to the door width of less than 5mm and check that there is a screw hole 50mm or less from the cut end. If needed, drill a 4mm hole 25mm from the end.
Step 3
Prevent the brush from unravelling by sliding it out of the carrier and then crimp the newly cut end with pliers.
Step 4
Close the door and position the brush seal on the inside base of the door – make sure the brush is resting on the floor surface as this will be key for stopping the draught.
Step 5
Using a pencil, mark off the fixing holes and use a bradawl to start fixing holes in the door; finally, use screws to fix the draught excluder to the door as necessary.
Are there alternatives to draught excluders for the bottom of a door?
Yes, there are!
You can also use door sealants and weather strips which can be placed around the whole door.
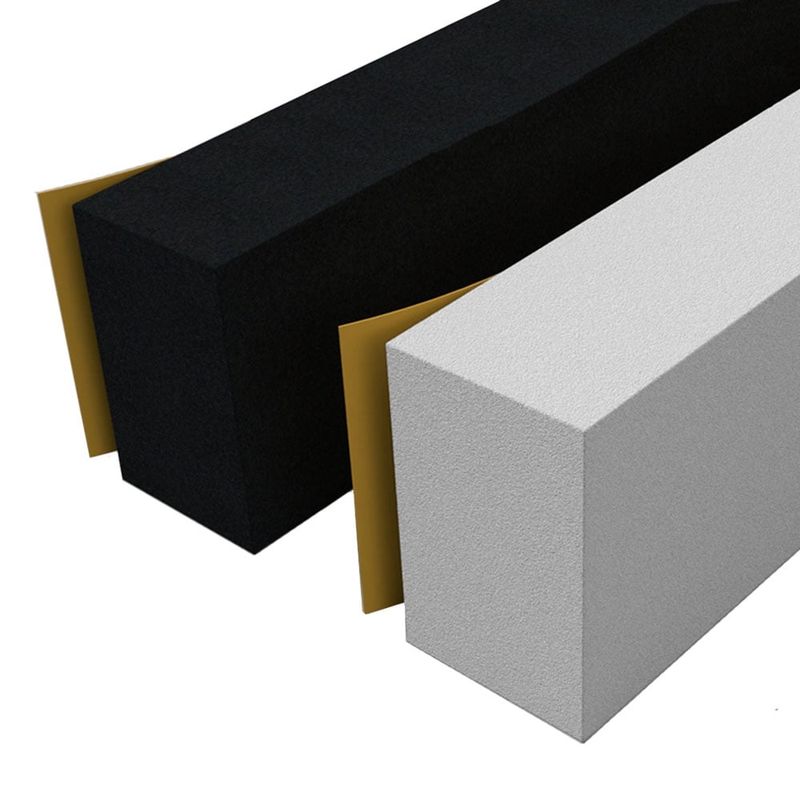
One particular type is the rubber foam jumbo strip. They can be cut to size and are self-adhesive, saving you spending on additional adhesive solutions or endless searches for the ideal size product.
You can fit them to windows, external doors, loft hatches, and marine and automotive areas to ensure your property has a much better chance of reducing heat loss.
Want more draught or weatherproofing solutions? Check out these six ways to weatherproof your front door!
How do I install the jumbo weather strip?
It’s easy and doesn’t require any invasive construction!
Step 1
Ideally, you’ll want to install it when the temperature is between 5° and 32°C. The following areas most effective for where to apply are:
- Doorstop moulding across the top and down the latch side.
- On the hinge side door frame next to the moulding.
Prepare the surface, making sure it is clean, dry and free from grease.
Step 2
Unwind 12 to 18 inches of tape and, starting at 0ne edge or corner, press the adhesive side of the tape firmly down onto the surface and cut off the strips at the required lengths using scissors – make sure to leave the backing paper as this can prevent the strip from stretching.
Step 3
Remove the backing paper and there you have it! A newly installed draft excluder.
But wait! There’s more:
For timber doors, you can also use a door window frame seal. This particular type of weather strip seal is designed to meet the different demands of timber windows and doors.
Not only can it ensure a long-term solution for window performance, but also allows for consistently high standards of energy efficiency and improves the sealing against air and water infiltration.
Final thoughts
A draught excluder might seem like a relatively minor thing, but it can go a long way towards keeping your home nice and comfortable during the colder months.
In fact, we bet you’ll be surprised how big of a difference it can make!
The good news is:
There are plenty of different options you can choose from.
And now that you know how to fit a draught excluder around a door, you’re all set to install your product of choice in no time.

Was this guide useful?
Mentioned in this project guide:


