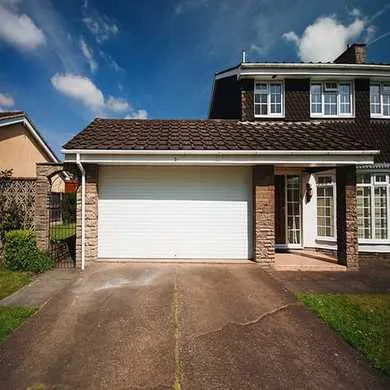
If you have a leaky garage door, water, dirt, debris, leaves and insects might all enter your garage. This results in a damp, uncomfortable setting and perhaps even structural damage.
The ensuing disaster will cost you a lot of money and effort to deal with. So, it’s a good idea to be proactive and seal the garage door to protect your garage from the elements. You’ll also save yourself a headache down the road.
Not only will it give you peace of mind, but it will also increase the energy efficiency of your garage. The result? Saving you money in the long term.
The question is:
How do you seal a garage? DOOR SUPERSTORE’s guide tells you how.
Table of contents
- Tools you’ll need
- How to seal a garage door bottom
- How to seal a garage door on the sides
- How to seal a garage door top
- How do you seal the inside side of a garage door?
- Why you need to seal your garage door
Tools you’ll need
The exact set of required tools will vary slightly depending on the products you end up choosing. In all cases, though, you’re going to need the following:
- Garage door seal or draught excluder of your choice
- Measuring tape
- Cutting tools (knife or hacksaw)
- Adhesive and screws
- Pliers
- Something to mark with (pencil, permanent marker, chalk or similar)
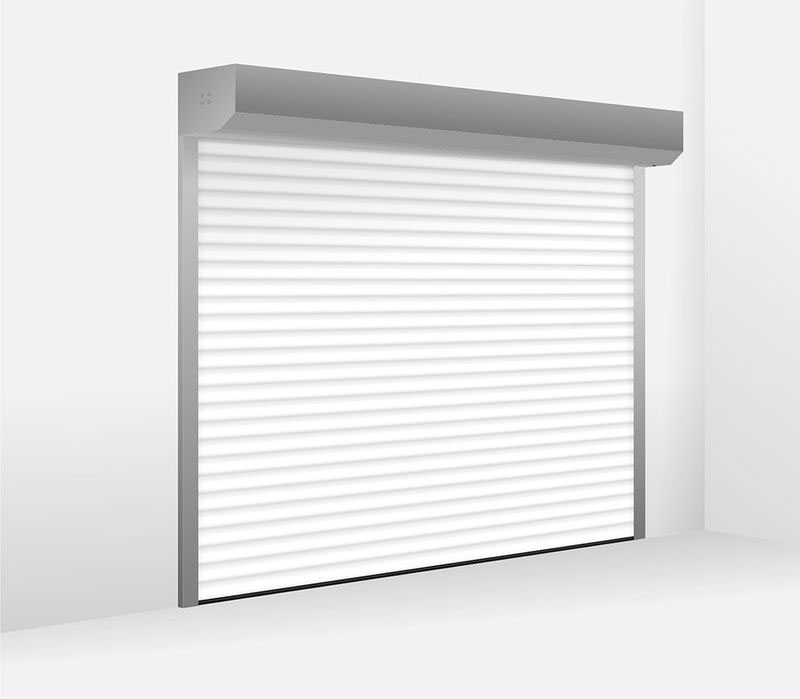
How to seal a garage door bottom
It’s best to start at the bottom and work your way up. You can go down two different roads when sealing the bottom of your garage door by using either a bottom garage door seal or a threshold seal. Both will do the job, so it’s up to you to decide which one you prefer.
Let’s take a closer look at each of the two garage door seal types:

Use a garage door bottom seal
A garage door weather seal bottom is a long rubber or vinyl strip attached to the bottom of your garage door. There are multiple types of garage door bottom seals you can choose from, including a garage door bottom seal for uneven concrete, making this a highly versatile and convenient solution.
You might be wondering:
How do I know if it’s time to replace my bottom seal?
Simply shut off the lights in your garage and close the garage door.
Can you see light underneath?
If you can, your old garage door seal strip is worn out, and it’s time to replace it.
This is what you have to do:
Using a pair of pliers, pull off the nails of the old garage door rubber seal to remove it. The new kit should come complete with nails. If that’s not the case, make sure you have appropriately sized nails at the ready.
Next, measure the required length of the seal and cut it. Place some adhesive in between the nail holes. This will ensure even sealing across the entire seal and prevent any undesirable airflow.
Keep in mind that you’re going to need another person to hold the garage door seal into place while you drive in the nails.
You’re all sorted! Your new seal will keep water, air, insects and dirt out.
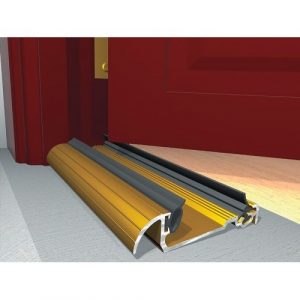
Use a garage door threshold seal
Unlike a bottom seal, which is connected to the garage door itself, a garage threshold seal is connected to the floor. There are plenty of options out there, including such firm favourites as the Stormguard garage door seal. Installing one of these is fairly easy and won’t take you too long.
Here’s how you go about it:
First, measure the length of your garage door. Cut the garage door weather seal to the required length and place it alongside. Close the door and push the seal firmly into place.
Second, open the door and use a permanent marker, pencil or chalk to outline the desired location of the seal.
Third, clear the area of any dirt. You can either sweep or vacuum depending on how much dust and dirt there is.
Fourth, apply sealant along the two marked parallel lines, followed by a zig-zag pattern along the middle. This will ensure a consistently tight sealing.
Finally, place the seal into position carefully and firmly press it to the ground so that it sticks. Don’t take too long, or the sealant may be dry by the time you get the final part.
That’s it – you’re all done!
How to seal a garage door on the sides
To seal the sides of your garage door, it’s best to use door stop weatherstripping. Measure the door jamb and cut your stripping to the proper length. You can use adhesive or self-tapping galvanised screws to install the stripping on both sides.
But how do you fill the gaps on a garage door?
If you have a panelled wooden garage door, you can use door panel weatherstripping to seal any existing gaps between the panels.
How to seal a garage door top
You can use the garage door weather stripping you previously used on the sides for your garage door top. If you decide to go down that route, follow the same process you did with the sides. Measure the required length. Then, cut and ensure the weather stripping for your garage door seals into place. Either with adhesive, self-tapping galvanised screws or both.
Voila!
Alternatively, you can use a garage door top seal. It’s best to install it on the top frame of the garage door rather than the door itself to avoid any potential damage.
One final question that often comes up is:
How to seal a garage door from the inside
It’s quite simple. If you decide to seal your garage door on the inside rather than the outside, follow the same process. Using a garage door floor seal or bottom seal, top seal and weatherstripping for the sides.
On the other hand, you might want to use garage door insulation strips instead of weather seals for garage doors.
You can take your pick of polystyrene-made foam board insulation, fibreglass-made batt insulation or polyethylene-and-carbon-made reflective insulation. So you’re definitely going to be spoilt for choice!
And that’s not all:
A bonus of garage insulation is that it will make your garage soundproof, eliminating outside noise completely.
To install the insulation, measure, cut to the right length and seal into place. The sealant you’ll use depends on the specific type and brand of insulation you’ve chosen. So, make sure you read the product descriptions carefully and choose accordingly.
Why you need to seal your garage door
It’s better to be safe than sorry. So, seal your garage door at the first signs of wear and tear or water, dirt or leaves getting inside your garage. This way, you’ll avoid mould, leakage and structural damage. You’ll also lower your potential maintenance and garage door repair costs.
All in all, it’s a win-win situation and a simple enough DIY project, one that you’re now well-equipped to tackle.


