Changing a mortice lock doesn’t have to be a hassle. With this handy guide, you can discover how to install a new mortice lock in your door as swiftly as possible with reliable results.
Table of contents
- What is a mortice lock?
- Types of mortice lock
- Levers
- Choosing a mortice lock
- Installing a mortice lock
What is a mortice lock?
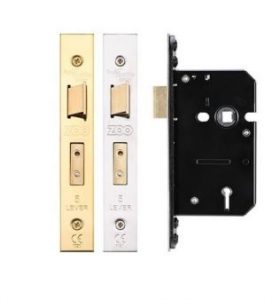
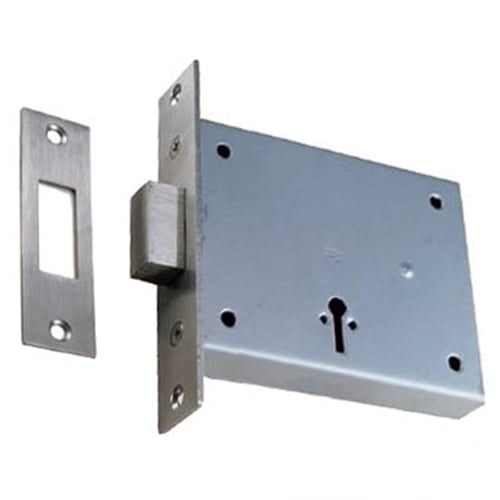
A mortice lock is a type of door lock. It sits in a pocket on the side of the door. This creates a more subtle finish which would probably be more obvious with a latch or more visible lock type. They are commonly used amongst wooden doors because of the way they can be mounted to the side of the door.


Types of mortice lock
Sash and deadlock
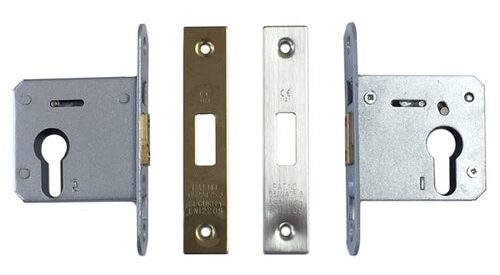
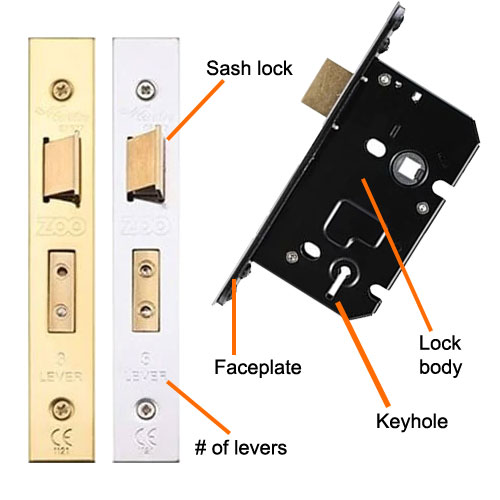
The main difference between sash mortice locks and deadlock mortice locks is the way they lock. A sash lock has a latch and bolt for opening and closing the locks, whereas a deadlock does not have a latch to do so. Both types can be available with three or five levers.
Levers
There are two main types of lever for mortice locks that offer various strengths of security; three lever and five lever.
Three lever
Three lever mortice locks have three levers. They are generally used where security isn’t the main focus of the lock. Some uses include internal within domestic buildings, such as between the garage and the house. They can also be used in a storeroom or office, depending on the level of privacy required.
Five lever
The five lever mortice lock is a more secure type of lock. As such, their use is extended to external doors. In fact, insurance companies specify the usage of this type of lock when placing insurance on your home. That is why it is vital you ensure all externally used mortice locks have the five lever attributes.
Choosing a mortice lock
Mortice locks are manufactured to meet the BS3621 standards. This is the British Standard for this type of lock. To ensure your lock is manufactured to that requirement, check the face of the locking mechanism for the British Standard 3621 kitemark stamp. If it is there, the lock has been manufactured to that standard.
Preparation
Whether you’re fitting locks to an external or internal door, the process of how to fit a mortice lock is the same. If you’re fitting one lock, it is advised you choose an automatic deadlock night latch. For back doors consider a sash lock.
Top tip: for further security, consider adding two locks on your front door. One latch halfway up the door and the other latch (also known as a night latch) a third of the way down from the top of the door.
Always consider the manufacturer’s instructions.
Installing a mortice lock
Step 1: Marking and setting the insertion space
For all steps in fitting the mortice lock, you will need the door open. Using the body of the lock, mark where the mortice lock will be positioned on the edge of the door. Then make a mark in between those lines, half the thickness of the door edge. This is where you will drill holes to begin making the space for the lock.
Step 2: Make the lock space
For this stage, you will be doing a combination of drilling and chiselling. Firstly, drill holes along the line that is half the thickness of the door edge. Then chisel away parts of wood until the holes are rectangular to ensure the lock fits into the space.
Step 3: Adjustments for faceplate
Once the lock has been placed, you will need to mark the outline of the faceplate. Remove the lock from the space and chisel a recess for the faceplate. Once this has been done, mark where the screws will be fixed and drill the appropriate screw holes.
Step 4: The keyhole
Using the body of the lock, place it against the door and mark where the keyhole will be. Using a drill and thin-bladed pad saw you can then form the keyhole. You will need to check the keyhole to ensure the fit is correct on both sides of the door. From there you can install the lock and screw on the faceplate.
Make sure the door closes properly before fixing the plate.


