6th March 2024
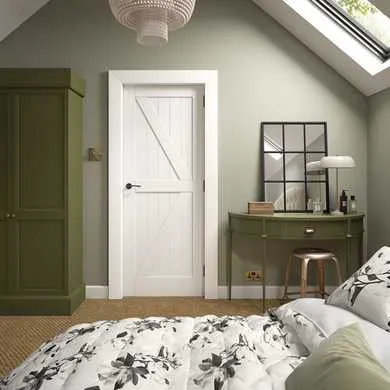
Worn-out or damaged wooden door frames can lead to a serious headache. Not only do they look bad, but they can also make it difficult to open and close doors.
The good news is:
With a few tools at your disposal and a can-do attitude, you can take care of the issue all by yourself as long as you follow our step-by-step guide.
Without further ado, let’s find out how to replace a door frame.
Table of contents
- What do I need to replace a door frame?
- How long does it take to replace a door frame?
- How easy is it to replace a door frame?
- How much does it cost to replace a door frame in the UK?
- How to replace a door frame step by step
- Part 1: How to remove a door frame
- Part 2: How to fit a door frame
- Final thoughts
What do I need to replace a door frame?
In addition to a new door frame, you’ll need the following tools to get the job done:
- Hammer
- Utility knife
- Handsaw
- Pry bar
- Chisel
- Measuring tape
- Nails
- Safety goggles
- Protective gloves
- Spirit level
How long does it take to replace a door frame?
Once you’ve assembled all the required tools and are ready to start with the project, you’ll probably want to know how much time you’ll need to spare, right?
As with most such tasks, the answer depends on your level of DIY expertise.
Here’s the deal:
An experienced DIYer might be able to replace an internal door frame in two to three hours. However, a novice would be wise to set aside as much as a full day for this project. Replacing an external door frame usually takes longer – at least four to five hours.
How easy is it to replace a door frame?
Door frame replacement is a medium-to-hard task. It all depends on your level of DIY expertise. As we mentioned, an experienced DIYer can breeze through it in a couple of hours if it’s an internal door frame and about twice as long if it’s an external door frame.
In contrast, a novice might need to apply themselves and devote a whole day.
How much does it cost to replace a door frame in the UK?
If you hire a professional tradesman, the average cost to replace a door frame is £80 for an internal one and £180 for an external one. Keep in mind that the door frame replacement cost in the UK can vary considerably depending on your location. So, make sure you get a quote from a local tradesperson if you decide to go down that route.
If you decide to have a go at changing a door frame yourself, you’ll only have to factor in the cost of the frame itself (plus a new architrave, if your old one is no longer up to scratch).
Now that we’ve taken care of the preliminaries, it’s time to dive right in.
How to replace a door frame step by step
Replacing a door frame involves removing the old frame, installing a new one, ensuring proper alignment and securing it in place with screws or nails. Finally, adding trim and finishing touches completes the process, resulting in a functional and visually pleasing entrance.
To make things easier to follow, we’ve divided this guide into two parts.
Part 1: How to remove a door frame
Before fitting the new door frame, you have to take off the old one. Here’s how you should go about it:
Step 1: Remove the door from the old frame
Leave the door open. Unscrew the hinges with a screwdriver or a power drill. Lift the door carefully and remove it from the frame. Place it out of the way. The hinges should remain in the door.
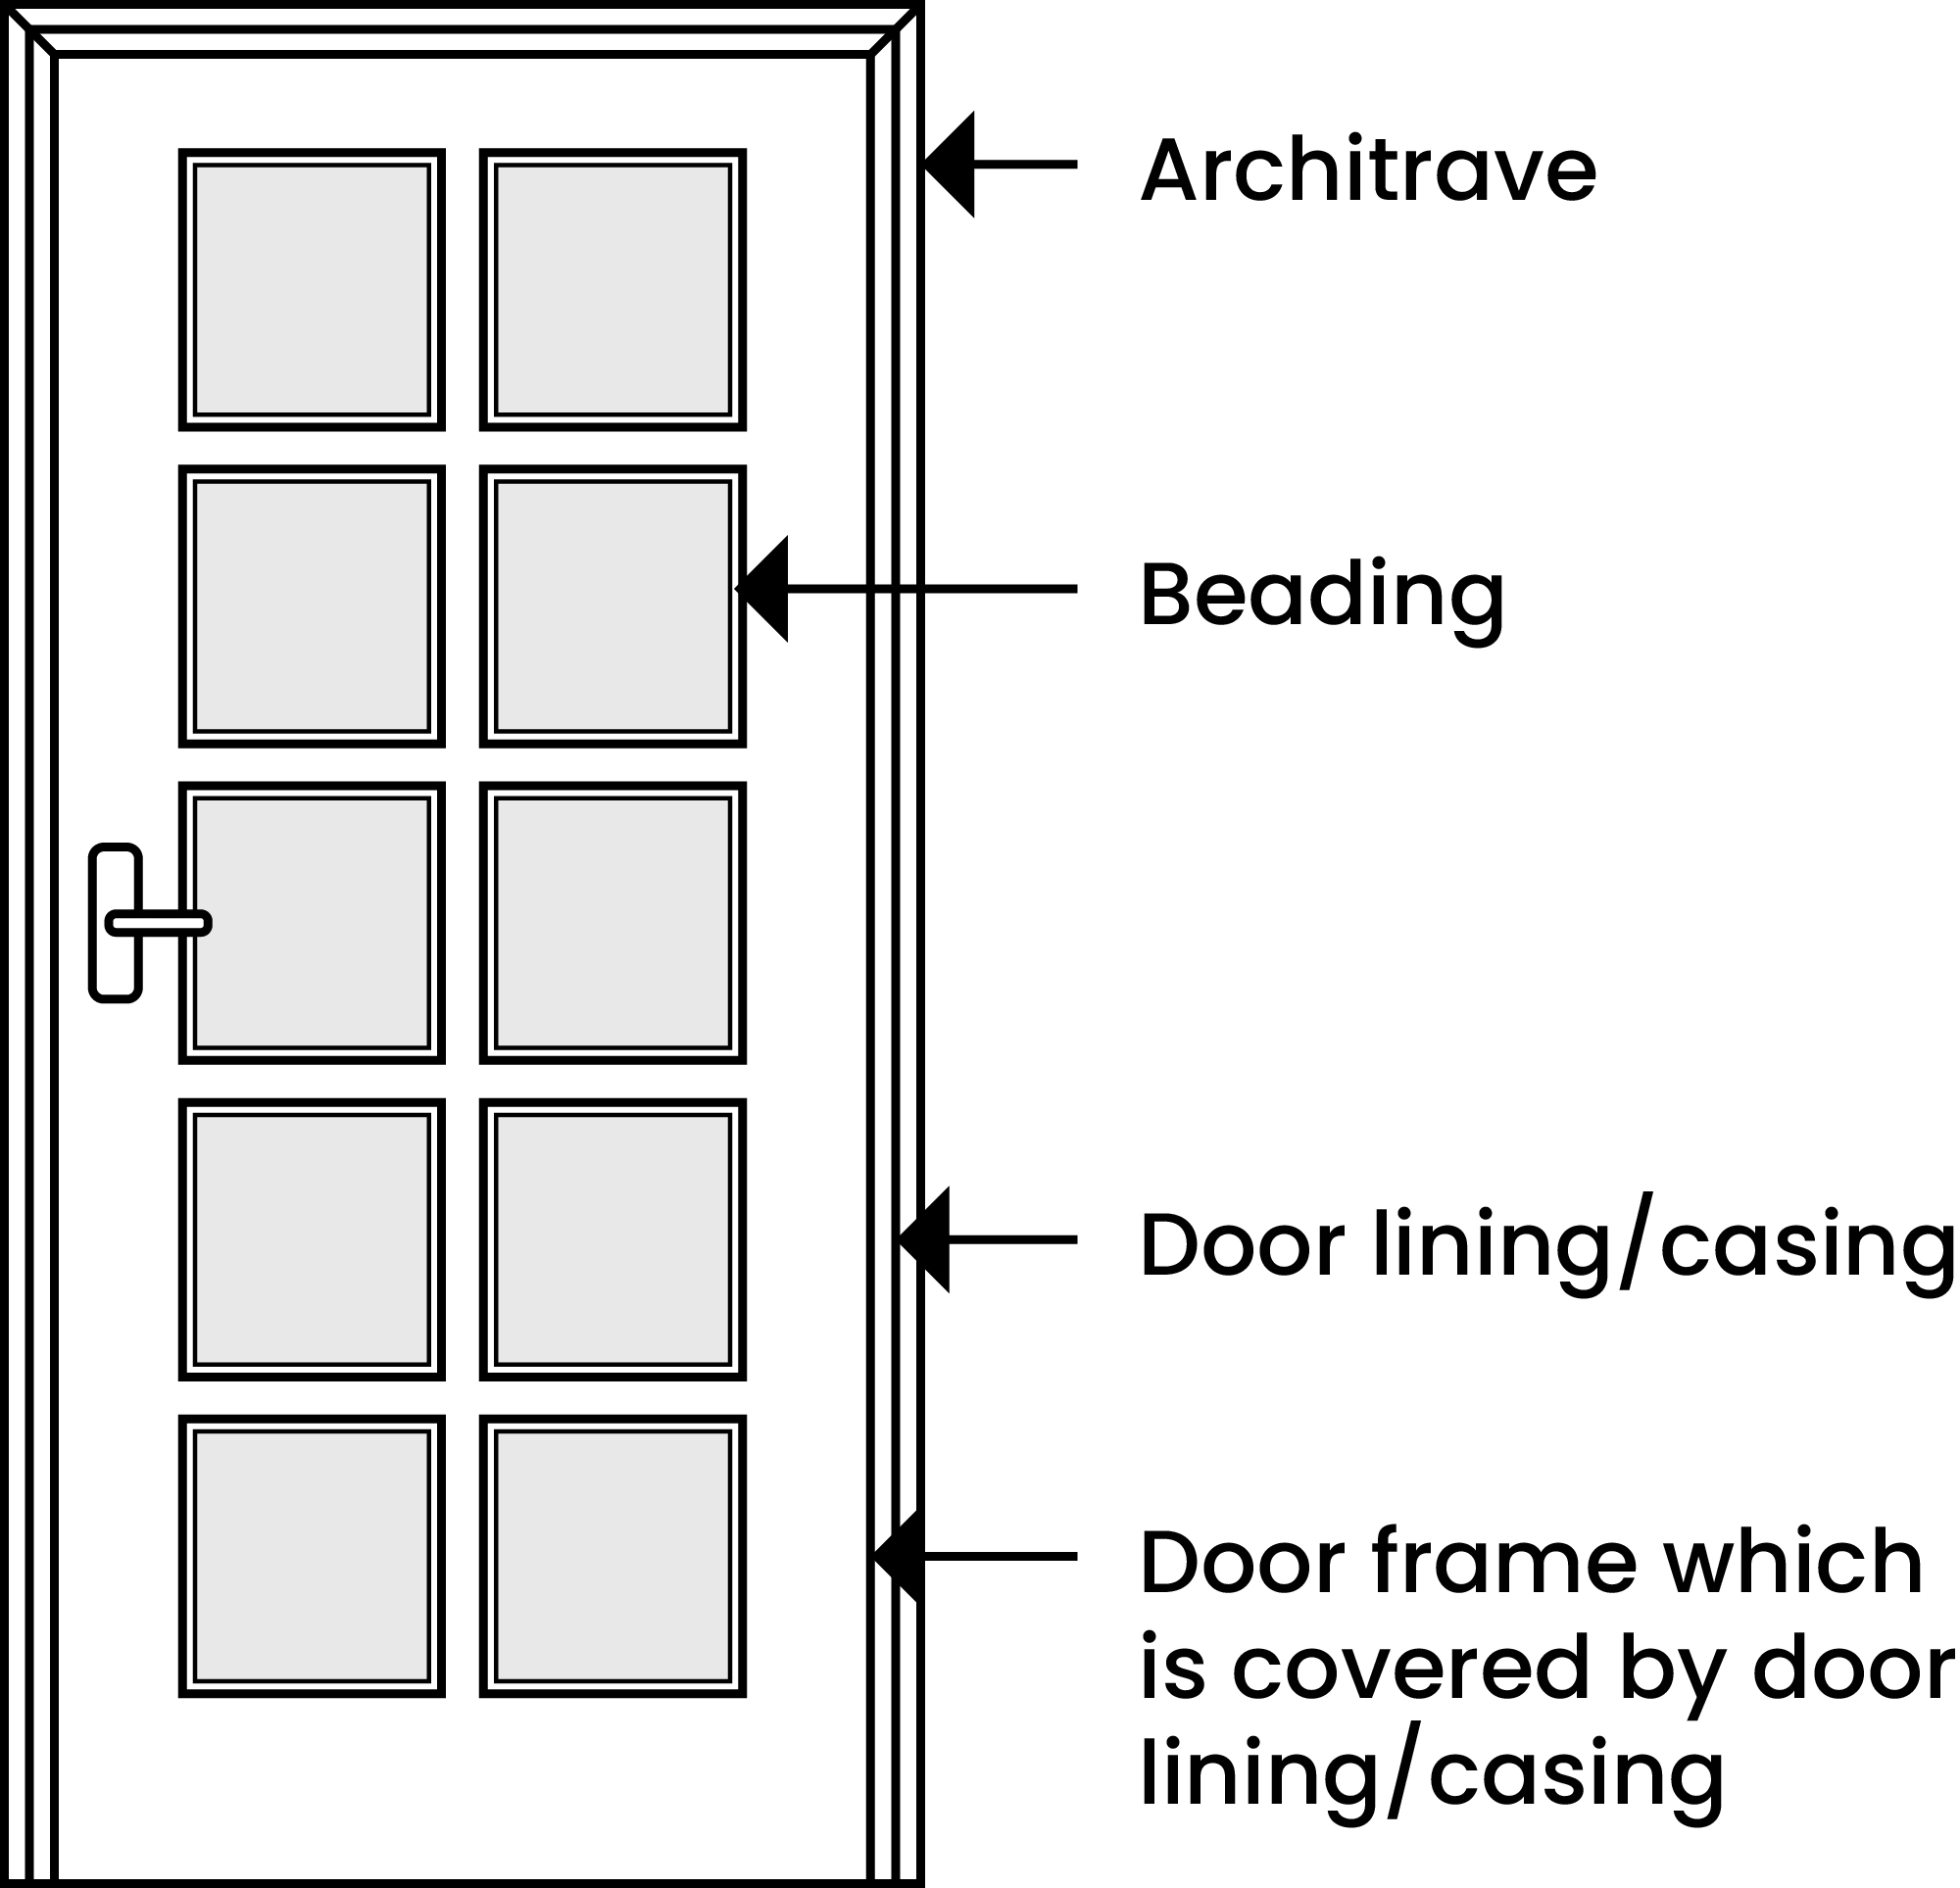
Step 2: Remove the architrave
Using a utility knife, cut along both edges of the architrave. This way, you won’t damage the wall. Then, use a chisel and hammer to ease the architrave away. Start at the bottom and gently work your way to the top. Finally, use a pry bar to remove the architrave completely.
Step 3: Remove the shims
Shims are thin pieces of material typically used to fill small gaps. Use a hammer and a block of wood to take out any remaining shims.
Step 4: Remove the door lining
Cut each jamb about halfway across with a handsaw. Using a pry bar, collapse the lining inward.
Step 5: Remove any remaining nails
While some of the nails will come out with the frame, some may be left behind. Use the sharp end of a hammer or pliers to take them out.
That’s the end of part one, on removing a door frame! You can take a well-earned break and get ready for part two on how to install a door frame.
Part 2: How to fit a door frame
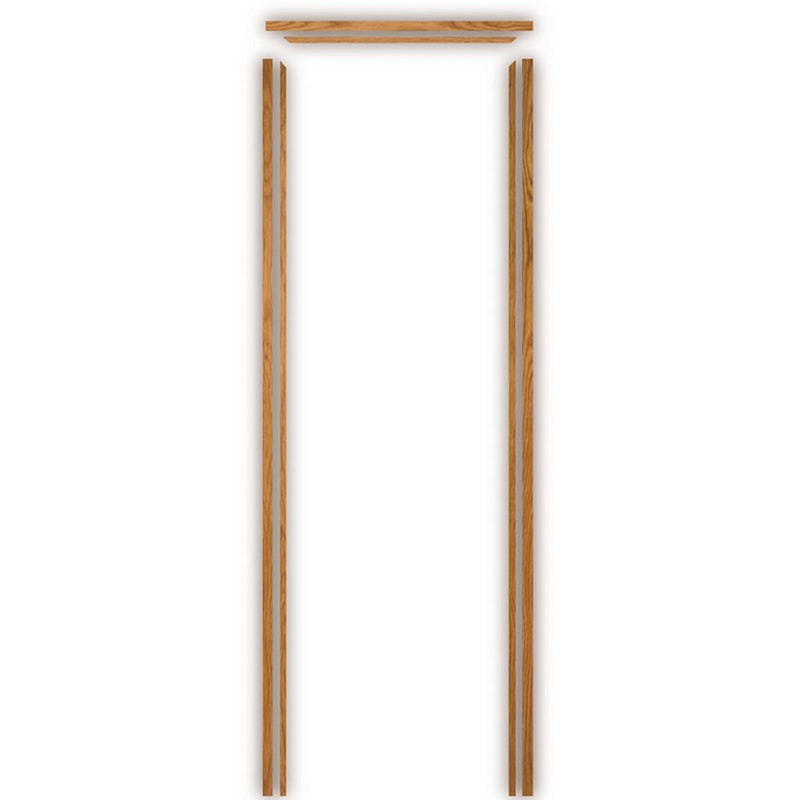
You’re halfway through the process of replacing a door frame. Now comes the fun part. Time to unpack your door frame kit and get cracking!
Step 1: Assemble the parts of the door frame
To begin assembling the new frame, drill two holes on each side of the header for the nails. Then, place the jambs and header on a flat surface so that the topmost part of the jambs intersects with the face of the header.
Next, drill screws into the holes.
Step 2: Brace the frame
Place a 50x50mm piece of timber approximately 100mm up from the bottom of the door frame. Check with a measuring tape to make sure the distance between the jambs is the same at the bottom, middle, and top.
With the help of a utility square placed at one of the top corners of the frame, fit a diagonal piece of timber to keep the frame square. Then, insert a vertical brace close to the bottom.
Step 3: Place the frame in the opening
Once you’ve set the frame into the opening (it should fit nicely), mark where you’ll screw the nails. The first should be 100mm from the bottom; the rest should be at 450mm intervals.
Next, drill holes where you’ve placed the marks. With the help of a spirit level, check to see whether the jamb is plumb.
Step 4: Secure the new door frame
Using the drill, drive the nails into the marks you made earlier. Double-check to make sure the jamb is still plumb. If that’s not the case, and there are openings between the door frame and the wall, insert shims. For best results, place the shims at the top, middle and bottom on each side of the door.
Once you’ve made sure the jambs are plumb and the head is level, you can safely remove the two braces.
You’re nearly done! Not long to go now.
Step 5: Fit the door
Fitting a door is fairly straightforward. If you’re not quite sure how to go about it, check out our step-by-step guide on how to hang the door.
Step 6: Fit the architrave
Last but certainly not least, you’ll have to fit the architrave. You can reuse your old architrave if it’s still in good condition. Otherwise, it’s a good idea to buy a new architrave before you’ve started the process.
That’s it – you’re done! You can now step back and admire your new door frame.
Final thoughts
Now that you know how to replace a door frame, you’re well prepared to take on the task. Don’t worry about any minor damage or mistakes, as the architrave will act to disguise them.
The bottom line is:
Make sure you plan ahead, leave yourself plenty of time, and work diligently. Follow our guide, and you’ve got this covered!

Was this guide useful?
Mentioned in this project guide:


