A lock for a bathroom door is a must for privacy. Whether you’re using it for domestic or commercial reasons, it can be useful for many other reasons.
For example, those with small children or individuals in need of care that might need help. Now, how do you fit a bathroom door lock?
Find out more about the process of installing a bathroom door lock via our guidance below.
Table of contents
Bathroom door lock types
The type of bathroom door lock you choose will depend on the type of door you have. However, the overall use of the lock will still include giving the much-needed privacy when in the bathroom.
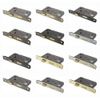
You can also opt for a bathroom door lock set. This ensures that you are set up with all the key hardware and fixings needed to install your bathroom lock.
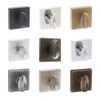
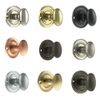
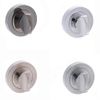
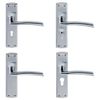
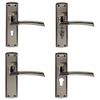
If you would like to see what bathroom door hardware is available, look to our bathroom door locks range. Discover many appealing options that could perfectly complement the look of your door.
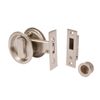
Sliding door bathroom lock
A sliding door bathroom lock typically has a simple operating mechanism. Many have an easy turn and release with a simple finger pull solution. How do turn and release locks work?
As the name suggests, they are a simple turn-and-release mechanism used for locking and unlocking bathroom doors. You’ll also find them on most wooden doors. This is because they can be simple to install and can come in a variety of different styles.
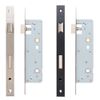
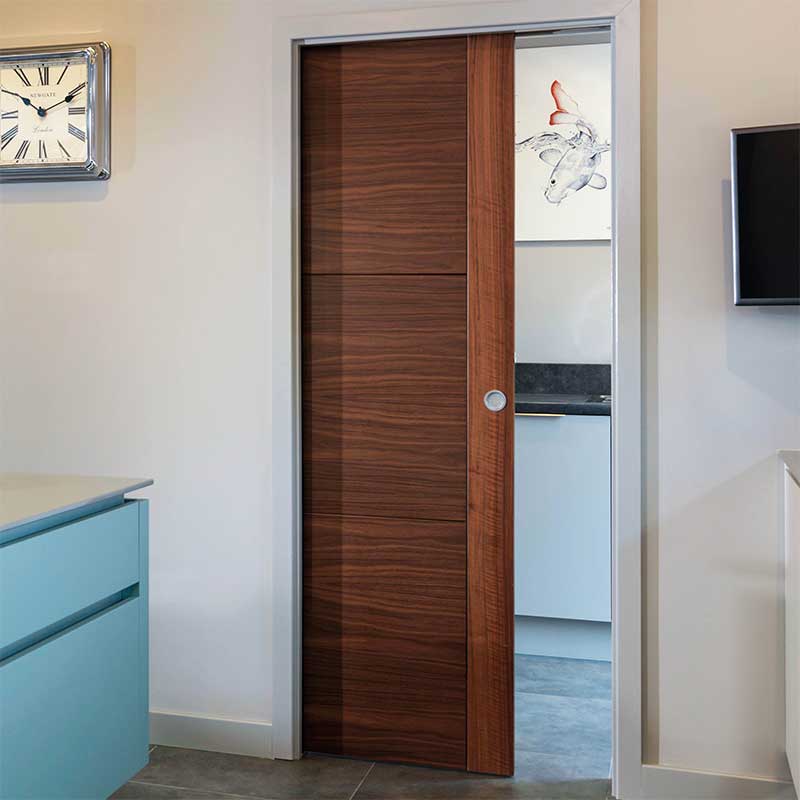
You’ll likely have a sliding door that opens into a ‘pocket’ in the wall. So a sliding door bathroom lock that fits flush (meaning level or even with the surface it’s attached) will be the ideal choice. As a result, you can still open your pocket door without worrying about the lock getting caught or damaged.
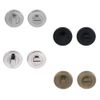
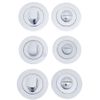
Some sliding door bathroom locks also come with what’s known as a ‘coin release’. This allows for external unlocking of the door outside of the bathroom. Useful in case of emergency using a, as the name suggests, coin or similar item to do so.
Bathroom door latch lock
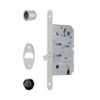
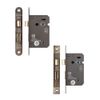
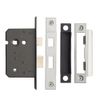
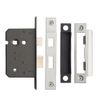
The more common style of bathroom door lock consists of a latch bolt mechanism with a deadbolt located underneath.
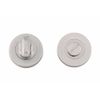
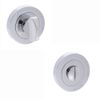
These bathroom locks are usually installed with a bathroom handle. How it works is via a thumb turn knob which is fitted to the door on the bathroom interior.
If you would like to know more about sash locks, visit our ‘What is a sash lock?‘ guide to discover more about sash locks and their benefits.
You can also find out more about lock standards via Approved Document Q.
How to fit a bathroom lock
Different types of bathroom door locks will need different installation processes. Here is the overview of installing different types of bathroom door locks below.
Moreover, if you’re looking to install a door handle, you can look to our guide about how to fit a door handle to help you with the process.
Fitting a mortice bathroom door lock
For this example, you can learn how to fit a mortice bathroom door lock.
As stated, the sash lock is your typical bathroom lock. Particularly if you do not need increased security or a flush lock that can fit inside a pocket in the wall for a door.
So as we move forward, you will need the following:
- Mortice lock
- Door handle
- Something to hold open the door (ideally a door wedge)
- Tape measure
- Masking tape
- Square measuring tool
- Bradawl
- Marking tool (ideally a pencil)
- Hammer
- Chisel
- Electric drill and suitably sized auger/wood drill bits*
- Screwdriver
*Note: Example size drill bits include 20mm for the edge of the door and 16mm sized drills for the sides of the door or drill bit typically 2mm smaller than the size of the mechanism.
Now onto the fixing!
Step 1: Using your tape measure, locate where the lock will sit on the door and mark this location.
Typical height is usually at least, a meter high. With this measurement, you can now use the mortice lock as a guide.
Place it vertically on the surface with a long side lying against the edge of the door. Mark the top and bottom of the latch on the door surface. You will also need two small vertical lines in the centre of each horizontal line you have just placed on the edge of the door. This will give you a better idea of where you need to cut into the door to fit the lock in place.
Step 2: This is where your wedge comes in handy!
Place the wedge under the door to stop it from moving as you work. Then, laying your 20mm drill bit onto the lock, use the tape to mark the depth of the lock. This ensures the depth for the lock will be more accurate when it comes to fitting the mortice into the newly made hole in the door.
Step 3: Remember that vertical line you marked out?
Start from the top of that line by drilling a series of holes as you follow it down and reach the bottom of the line. Then, use your chisel to remove excess wood to make for a smoother fitting space for your mortice lock to sit in.
Step 4: Once the hole is ready, you can now slide the case into the newly made hole.
Then cover, but not fix, it with the cover plate. You will need to draw around this plate. This will help identify the edges of the recess needed to ensure the lock is flush with the door.
Step 5: Remove the mortice case from the hole.
Take your hammer and chisel to make cuts across those newly made markings. Then make cuts across and down the centre of the space. Use the chisel to scrape away and gently remove the cut pieces of wood from the door to create your recess.
Step 6: Grab your mortice lock case and place it on the wide side of the door at the same height where it will sit inside the door.
Mark where the hand turn spindle and thumb turn spindle will be installed once the case is in place. You can do this with a pencil, but if that is too big then use a bradawl. Make sure to mark this on both sides of the door. This can help you reduce the risk of making wonky cuts.
Step 7: Drill into those newly made holes on each side of the door with the smaller drill bit.
Avoid drilling from one side straight through to the other side of the door. Not only can this make sure you have drilled both markings, but also reduces the risk of the wood splitting.
Once that’s done, clear out any leftover wood and shavings from the space in the door. Then slot the mortice lock in place. If the fitting is tight, tap it gently with the hammer to ensure it sits in place. Then put on the cover plate to sit nicely over it in the recess.
Step 8: Make sure the spindle holes created on the sides of the door line up with the case before screwing the forend and cover plate into place.
For the cover plate, pilot holes are recommended before screwing it into place to reduce the risk of splitting the wood on your door.
Step 9: You can now push the hand turn spindle through the top hole on the side of the door, fitting the handle on the other side of the door. If the spindle is too long, you may need to shorten it using a saw.
Once that’s sorted, use an Allen key to tighten the grub screws beneath the handles in place. Again, it’s advised that you drill pilot holes in place to avoid the wood splitting as you screw in the handles on the sides of the door. This is a great time to install cover plates if you have them to do so.
In the second set of spindle holes, install the thumb turn spindle using the same process as the handle spindles. Make sure you have put the turning handle on the side that will be facing the bathroom inwards as this will be where you or others lock the door. With this, the coin release should be on the side of the door facing away from the bathroom.
Step ten: Check all parts of the locking mechanism and handles are working as needed.
Then set the latch and deadbolt outwards (locked) and gently sit against the door. Use this to mark out where the strike plate (the place where the lock will fit) will need to be on the edge of the door frame. You can then use a square tool to mark out the measurements across the door casing.
You will also need to measure from the back edge of the door to the face edge of the latch. Use this measurement to mark the door casing with a vertical line at the top horizontal line you have made on the door casing.
Step eleven: With your newly made markings, line up the strike plate with the vertical line you have made on the door casing.
Mark the internal and external edges of the strike plate on the door casing. Then, like making a recess for the cover place, use your hammer and chisel once again. Make a deep recess for the latch and deadbolt to sit in place.
At the same time, make sure you have a shallow recess for the strike plate to sit. It will need to be flush to allow the door to close more smoothly.
Step twelve: Once the strike plate is flush, pre-drill pilot holes and attach them in place with screws. Now test the fitting of the lock in the recess when you close the door, as well as the mechanism to ensure it works in place.
With that, you now have your newly installed bathroom mortice lock ready to go!
Fitting a thumb turn lock
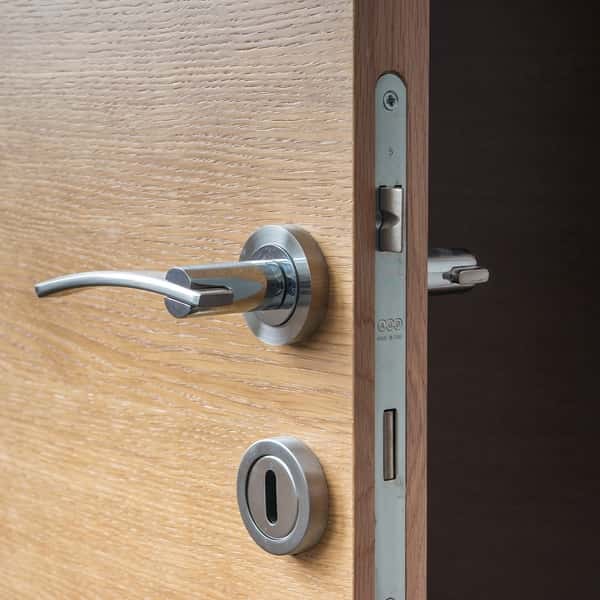
When fitting a thumb turn lock you might need a particular process. If you would like to know how to fit a thumb turn lock in more depth, you can find out how via our step-by-step guide.


