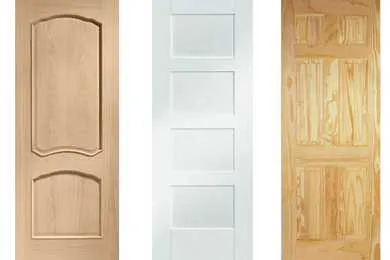
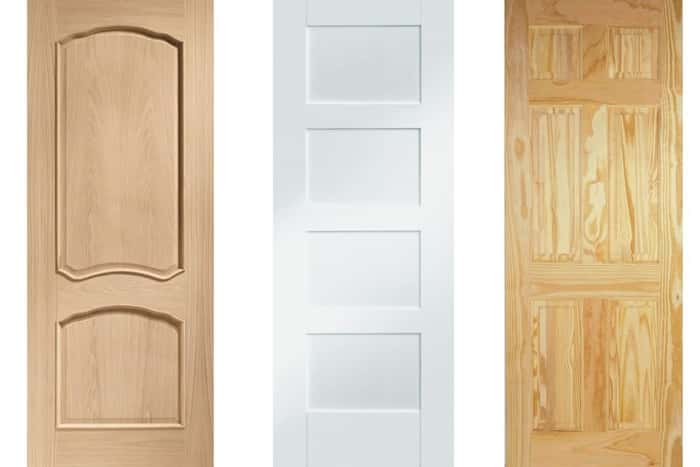
You have decided to replace your door, chances are now you are left with a door with no purpose. What is the next step for the old door? Maybe you could get rid of it or give your old door a new lease on life. That is where upcycling saves the day. With a bit of creativity and elbow grease, the possibilities are endless!
An old door frame could be revamped into a brand-new piece of furniture. It is a win-win situation! You are saving money, and living sustainably and you get to create something totally unique. In this handy guide, we walk through how to up-cycle your old door, as well as some inspiration for what you can make from your old door.
Table of contents
- What are you upcycling your door into?
- What style are you going for?
- What materials do you need?
- How to prepare your door for upcycling
What are you upcycling your door into?
Up-cycling your old furniture has become one of the hottest DIY trends. So, it can get overwhelming with so many ideas out there. But to avoid this decide what you need the door to fulfil. Come up with a few ideas and sketches of your ideal up-cycled door. Unleash your creative side!
If you are struggling, ask yourself these few questions:
- Do you need more space for storage?
- Is this more of a decorative piece?
- What purpose will this up-cycled door serve?
Still in need of inspiration and not sure where to start?
If you are still unsure of what to do with your door, take a look at these up-cycling projects and see if something catches your eye!
- A unique ladder bookcase
- A practical storage unit by adding hooks and shelves
- A custom-made headboard made from a 5-panel door
- A large picture frame with fairy lights, ideal if you have glass panels in your door frame
- A rustic coffee table
- A vintage entryway to store your keys, coats, and other knick knacks
- A simple but attention-grabbing office desk
- A luxurious full-length floor mirror
The possibilities are endless.
What style are you going for?
Now you have your idea it is time to inject your style into the door. You could expose the natural beautiful wood underneath the paint for a more rustic and vintage look. Maybe you are into the shabby chic look or bold bright colours are your thing.
Whatever your personal taste, make sure it is portrayed in your final up-cycled door.
What materials do you need?
Any successful DIY project starts with good preparation and having the right tools at hand. Here is what you will need depending on what you want to create:
- PPE
- Measuring tape
- Masking tape
- Sandpaper/Sanding Machine
- Saw/Jigsaw
- Screwdrivers
- Nails
- Screws
- Painting equipment and paint
- Timber
- Plywood
- Brackets (Optional)
- Wood stain (Optional)
Helpful Tip: Think about the final product and work backwards.

How to prepare your door for upcycling
Step One:
Start by removing hinges, locks and handles using a flathead/star screwdriver. Decide whether you would like to keep these for later or sell them locally to fund any extra bits of material you need to up-cycle your door.
Step Two:
Measure out pieces for your door and begin to cut out panels from the door, using a saw/Jigsaw. You can also use plywood or hardwood if you’d like to add extra shelving for the top or bottom of the door.
Step Three:
Sand down the door and shelves to remove any rough spaces or edges with some sandpaper/sanding machine.
Step Four:
Next apply paint in thin layers with a large paintbrush, to the door and shelves. Allow to dry between coats, and re-apply once you have reached your desired coating. A splash of paint can really spruce up any space. If your project allows, spray paint hinges, handles, and hooks and allow them to dry.
Step Five:
Once the door and shelves have dried screw in the locks, hinges, and hooks using a screwdriver of choice, to the desired sections of the door.
Step Six:
Assemble the shelves to the door, using a screwdriver and some small brackets to give the shelves some extra support.
Step Seven:
Now it’s time to kick back and appreciate your newly up-cycled door. Yes, you did that!
Was this guide useful?
Mentioned in this project guide:


