
External and internal door fittings require knowing what size door you intend to have, whether the location in the wall is structurally sound and more. Here is your guide on how to fit a door frame.

Table of contents
- What is a door frame?
- How to fit a door frame
- External door frame construction
- How to fit an external door frame
- Final thoughts
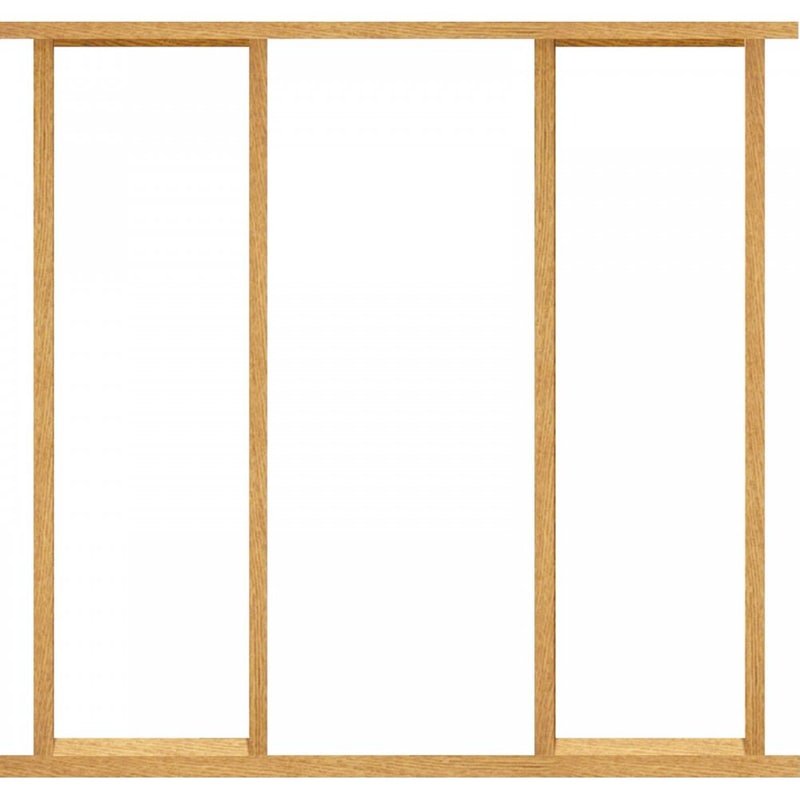
What is a door frame?
A door frame is part of a door system that the door sits flush in. It is also where the frame has the hinges attached to it. This is the name for the total system of the frame itself. Here are the main sections of the door frame:
- Soffit casing: This is the section of the door frame that sits across the top, sticking out. This section also shares the name “rails” with the bottom of the door frame.
- Stiles: This is the vertical side of the door frame.
Older door external or internal door frames might not be straight. So in this case, when buying a new door, it can make things easier to replace the old door frame.
It’s also worth noting door frames are typically used for external doors, while door linings/casings are used for internal doors.
What’s the difference between a door frame, door jamb and door lining/casing?
A door jamb, unlike a door frame, is one part of a whole door frame. The door jamb refers to whichever side the hinges are mounted on.
Door lining, also known as door casing, is the wooden framework that sits over the edge of the door frame.
You can find out more about door parts in our useful What are the parts of a door? guide.
How wide is a standard door?
Standard door sizes for height and width can be found in our UK door sizes and conversion chart guide.
Not sure what standard-size door frames are available? You can find out about the standard size of a door frame and more via our ‘Standard door frame sizes in the UK‘ guide.
How to frame a door
You can find out how to fit a door frame below with these simple steps. If you’re looking to install a door lining, head over to our How to fit a door lining Help & Advice article.
What you need
- Door frame
- Door lining
- Door jamb
- Hammer
- Wood screws
Step one: Lay the frame on a clean floor or workbench where there is enough space for assembly.
Step two: Using a hammer, place both door jambs into the recess of the headpiece or “rail” of the frame.
Step three: Screw each jamb in place with a lengthy screw.
Step four: If needed, adjust the width of the headpiece to ensure it is not as wide as the opening. You can trim either side of the headpiece to do so, but don’t trim it if it’s already fitting in place.
Step five: Make sure the lining is as level as possible with the top corners at a 90° angle for a smooth fit.
For guidance, there should be at least room between the opening and the lining during open and close testing of the door to allow for adjustments to be made.
Step six: Upon completion, the lining should be held vertically and the headpiece horizontally on top of the lining.
Step eight: Make sure the height is suitable by bracing from the bottom upwards.
Step nine: Measure corner to corner on a diagonal length to easily check the square shape’s quality of the frame – these should be the same size.
Note: Any difference more than 5mm should be checked at the braces and repositioned as needed.
Step ten: Secure the lining in place with screws and make sure it stays in place during this stage for a secure fit.
Note: Use a spirit level to ensure the placement is as on point as possible and adjust if necessary.
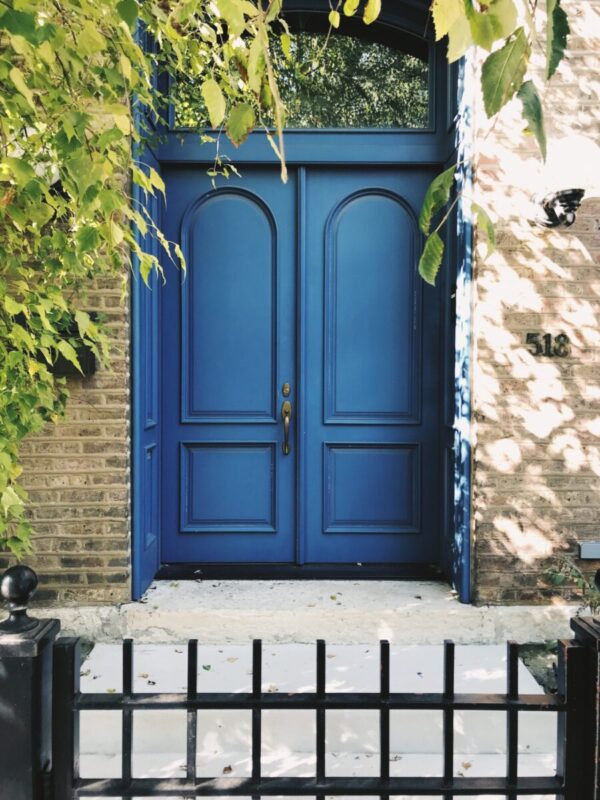
External door frame construction
Fitting an external door frame is going to be a little different as you will need to follow certain processes along the way. Here are some key things to know before moving forward with external door frame fitting.
External door frames are typically sold already assembled by the manufacturer. They can still be installed with the same method as if you were to install a pre-hung door. If the frame does need assembling on-site, this is referred to as a ‘knockdown frame’ or ‘external door frame kit’. This usually comes complete with joints pre-cut. These should be assembled by a capable joiner following Building Regulations when replacing a frame and not just the door slab.
If you are replacing an external door frame, current Building Regulations consider this a ‘controlled fitting’. So you will need to notify Building Control of any planning and consider having someone familiar with the current Regulations alongside you to complete the task.
For external door frame kits, refer to manufacturer instructions for the specific style of frame installation. Frames vary, so ensure you have correct measurements and a frame that fits within the rough opening; with a minimal gap between the external door frame and walls.
Lastly, if you use a registered installer, then you can request proof of compliance on completion of the door fitting. You can also pay a fee to the appropriate Building Control authority to inspect the completed fitting.
External door frame materials
External door frames are manufactured in a wide range of materials including the following:
- Wood
- uPVC
- Metal
- Fibreglass
Some door frames might need to be adjusted when on site. This means trimming the door as needed with a specific saw for the material the frame is made of, whether that may be a wooden door frame or other material. In addition, you will need to have suitable fixings for the specific style of frame.
How to fit an external door frame
What you will need
- Door frame kit
- Drill
- Screwdriver
- Spirit level
- Tape measure
- Suitable fixings
- Hammer
- Pencil
- Saw
Step one: Confirm the rough opening, ensuring it is square, but measuring diagonally from each corner. The measurement should be within 5mm of each other. If not, make adjustments as necessary as you will have minimal adjustment opportunities fitting an external door.
Step two: Lay down the frame on a clean and dry surface, ideally a suitable workbench. Using a suitable waterproof adhesive sealant, fit the jambs into the recesses in the head and sill and screw them together. If there is a weather bar not already attached, attach this as well. Make sure all attachments are straight, level and plumb during the fitting.
Note: Refer to the manufacturer’s instructions for further information if needed.
Step three: Level the surface you’re installing the frame on with packers and shims. Follow this up by squeezing a bead of waterproof caulk around the rough opening on both sides and across the top, then two or three beads at the bottom for the sill. This not only holds the door in place but adds a waterproof seal around the door frame.
Step four: Install the frame, carefully lifting it into the open space, and placing the sill in position with the frame tilted outwards. The frame can now be gently pushed into the opening.
Step five: Begin from the bottom of the frame, ensuring the sill is completely straight and level. If not, add shims as necessary. Make sure all parts of the frame are aligned accordingly as misalignment can cause problems with the door’s operation. Once the new door slab is fitted, a uniform 2mm gap should be between the top and either side of the frame.
Step six: After final adjustments have been made, drill pilot holes through the frame and use suitable fixings to secure the external door frame in place. This will typically include fixings in four or five places on each jamb and two or three at the top. You will also need to continue to check the frame is square to avoid issues further on.
Suitable fixings will not only depend on the door you have but also on the type of wall. If you have brick or block walls, you can prevent the splitting of these particular materials by staggering the fixings in place. This means fitting the fastenings a third of the way n from the edge of the jamb.
Note: If you’re uncertain about the final fixings, refer to the manufacturer’s instructions for further support.
Step seven: The final product should not have any visible gaps where the external door frame joins the wall. However, if there is a gap, fill this with insulation such as expanding foam and seal the space around the edges with caulk.
Removing an old external door frame
If removing an old frame then you may need a crowbar to do so. Be careful not to damage the masonry or plaster surrounding it and clear away debris until the space is clean.
You may also need to remove any old sealant and smooth out the surface with sandpaper. Then use builders caulk to fill out any gaps or cracks left in the opening.
Final thoughts
Framing a door can be a complicated process. Seek manufacturer advice if uncertain, but enjoy the results of a brand new door frame for your door.

Was this guide useful?
Mentioned in this project guide:


