When fitting a tubular latch, it might seem like a difficult process on the surface. Once you know it, you’ll be able to install latches wherever needed.
A bathroom door, bedroom door or any internal door can use a latch. Wherever you’re installing one, you can find out how below using our step-by-step guide.
Table of contents
What is a tubular latch?
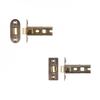
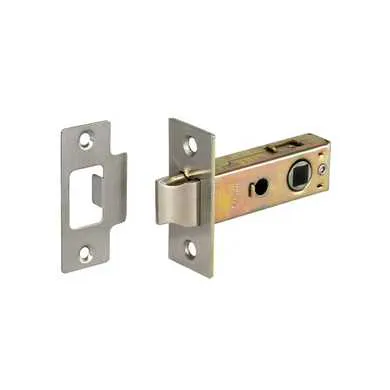
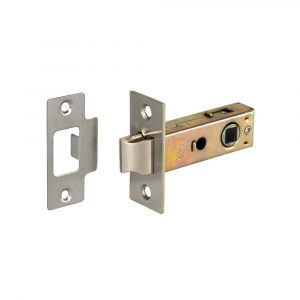
A tubular latch is a latch that will hold the door in place when closed. It will not lock the door in place like a standard lock mechanism. Tubular latch mechanisms are typically controlled by the turning of a knob or lever handle.
A tubular latch has similar properties to mortice locks. Though they are noticeably smaller and feature a latch closure rather than a lock. They are also simpler to install, with the bonus of minimal drilling required. If you’re a homeowner or DIY novice, this latch is perfect for you.
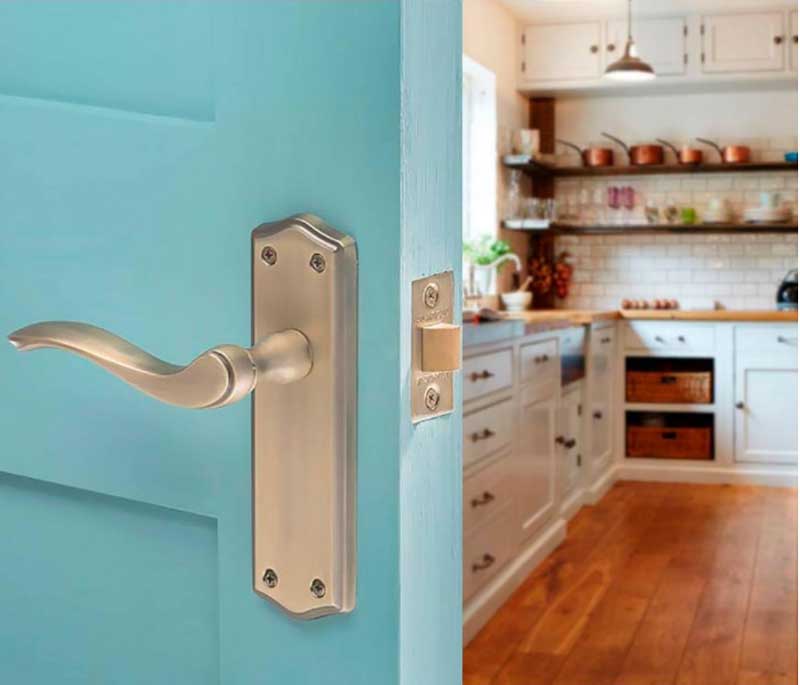
As for what they do, we typically use door latches to join the door to the wall. Then secure them in place with a strike plate placed onto the door casing or door frame.
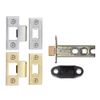
Another benefit of tubular latches is that they come in many styles and finishes. For example, a black tubular latch might fit in with those who want to add to their modern theme or colour scheme.
Can you buy a fire-rated tubular latch?
It’s important to note you can find fire-rated tubular latches. These could be useful if you have regulatory requirements in domestic or commercial properties you own.
You can find information about fire doors in our fire door guides.
What is a tubular mortice latch?
A mortice is a hole or recess cut into a door. A tubular mortice latch will typically need a deeper fitting when installed into a door.
Although not particularly common, they are still there. Available to you if you want or need a larger size tubular mortice latch to use in place on an internal door.
You can discover how they work with mortice doorknobs by visiting our guide ‘What is a mortice door knob‘.
There are also the standard sprung tubular latches and double sprung tubular latches. These are as follows:
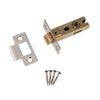
Sprung tubular latches
This is your standard latch that offers lasting privacy. It’s a more affordable solution, manufactured with holes to allow bolt-through fixings. This means you can combine it with lever-on-rose door handles as needed.
They’re mainly used by housebuilders or developers working on larger-style projects.
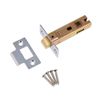
Double-sprung tubular latches
This type of latch is a step up from the single-sprung tubular latch. It’s favoured for its durability and has improved manufacturing. This ensures a smoother mechanism when in use.
When saying ‘ double sprung’ this refers to the latch having a separate spring for the tongue movement. That is the main support for the smoother closure as the door sits in the frame. The second spring on the spindle follower has a heavy spring action. This makes sure the levers return to sit horizontally during use.
What is the backset on a tubular latch?
The ‘backset’ is the distance from the edge of the door to the centre of the spindle follower. You will typically want to make sure you measure the latch accordingly. This ensures there is a reduced risk of scraping against the door frame.
How to measure a tubular latch
There are different steps to measuring a latch for a door. Common sizes of tubular latch include 64mm and 76mm.
However, if you’re asking yourself ‘What size tubular latch do I need?’, you can view common latch sizes in the UK via our guide to find out how to measure a latch.
It’s also worth noting manufacturers design the tubular latch to fit between short distances from the door to the door casing. If you choose to have a doorknob, these typically need a longer latch. This is because you must grab the knob and turn it to open the latch, rather than simply pressing down on a lever handle to open the door.

How to fit a tubular door latch
Below is a step-by-step process for fitting a tubular latch to your door. If you are unsure at any stage, confirm with the manufacturer and/or instructions if supplied with the product.
To fit a tubular door latch you will need the following:
- Tubular latch
- Pencil
- Tape measure
- Combination/set square
- Electric drill (cordless)
- Small electric/pilot drill
- Countersink drill bit
- Craft/Stanley knife
- Chisel
- An Auger or wood drill bit similar in size to your tubular latch but no wider than the faceplate and not a size that will risk damage to the space where the screws fix the latch to the door
- A 10mm Auger or wood drill bit
Now, here’s how you can fit a tubular latch to your door!
Step 1: Measure from the bottom of the door upwards to find where you want your door latch to be fit.
Typically this will be around a metre up (roughly three feet) from the floor. If there are existing handles then the latch can pair up with this height depending on requirements. Mark this location with a line using a set square, making sure to mark these lines on both faces (sides) of the door. Then mark the centre of the top line on the edge of the door.
After this, measure the distance from the faceplate of the latch and transfer that measurement onto both sides of the door.
Note: If you cannot remember the placement of the spindle hole using the depth line for the overall latch, mark the position of this too. Use your marking tool through the hole onto the door on both faces.
Step 2: Secure the door in place with a wedge to reduce movement as you work and drill into the edge of the door with the larger drill bit.
Make sure that you keep it square to the door. Failing to do so can risk drilling through the face of the door and ruining its appearance. Drill deep enough so that the hole’s depth matches the depth marked on the face of the door. Then use the smaller drill bit to drill two holes for the spindle on either face of the door. Do these holes separately to reduce the risk of wood splitting. Again, keep it square to the door to avoid a wonky hole being cut into the surface
Note: Remove any debris such as wood chips or dust from the hole to avoid misplacement when testing for the latch fitting.
Step 3: Test the fitting of the latch in the main hole created in the door.
Once you have made sure it sits nicely square in place, use your pencil to mark the two fixing points. Then remove the latch and drill pilot holes in place for the screws. Follow up on these holes by using a countersink bit to ensure that the reverse side of the lock fits flush with the door when screwed in place.
Step 4: Put the latch in the hole once again and fix it in place with suitable screws.
Use your knife to mark around the edges of the faceplate, then remove the latch once again. Chisel out the newly marked square space you have made. This will make sure the faceplate is flush with the door.
Again, use the countersink drill at the pilot holes to make sure the backside of the faceplate sits comfortably within the door. Once this stage is complete, you can permanently fix the latch in place on the door!
You can find out about handle fittings using our guide on how to fit a door handle.
These next steps include fitting a striker plate for the tubular latch to sit in when the door is closed.
Step 5: To make sure the door closes, you’ll need to cut out a space on the door casing or door frame to allow it to close smoothly.
Close the door, leaving a slight space between the frame and the door. Mark where the door will catch on the section that surrounds the door.
Now open the door and place the strike plate against that marking. Add a new mark to show the fixing holes where the strike plate will sit.
Step 6: Drill pilot holes where the new fixing hole locations have been marked. Screw the strike plate in position. Then, similar to fitting the latch, use your knife to mark around the edge of the strike plate and remove it.
As you did for the latch, create a recess in the door so that the strike plate will sit flush with the door surround. Use the countersink drill to make sure the back of the plate sits comfortably in the recess.
Step 7: Remove enough wood from the door in the centre of the striker where the latch will sit to ensure the catch can fully open after the door is closed. Re-fit in place with the appropriate screws.
There you go! Your very own tubular latch.
Not sure which lock you need for your doors? Check out our guide to the different types of door locks.

Was this guide useful?
Mentioned in this project guide: