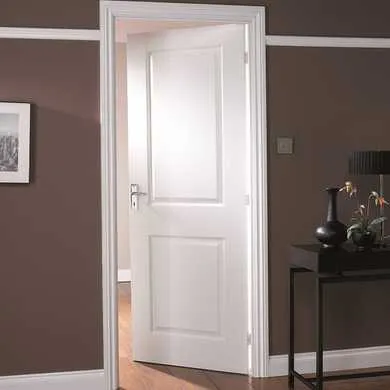
Fitting an internal door doesn’t have to be a troubling process. With this guide, you can learn how to fit your new internal door in a few basic steps.
Table of contents
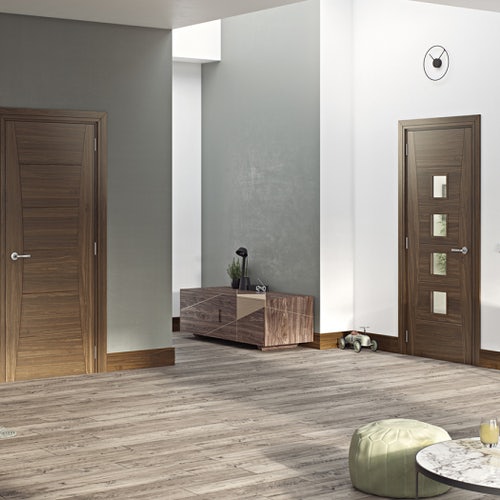
Choosing an internal door
This guide is for the purpose of finding out how to fit a typical door. If you would like to know the types of doors available, check out our internal door guide.
Preparation
What you need
Door measurements
You will need to ensure that the door fits in the space. If you’re replacing a door, measure the new door’s height and width then round up. You can also use the existing door as a guide for the new door if it is a good enough source. If the door is too big, trim it down. It is advised not to cut more than 10mm off a flush door and 5mm off a panel door. Doing more than advised can weaken the structure.
Alternatively, for those who are putting fresh new doors into empty doorframes, measure the height (top to bottom) and width (left to right) of the frame. Using the largest of both sizes, round these up to determine what size standard door you need to fill the space.
Note: Some traditional door frames may not be straight. Consider this during your measurements phase.
Make sure that whatever your process, you test the fit before you install it. Place something behind it to ensure it does not fall through.

Fitting the new door
Step 1: Hinge markings
Mark where the hinges will be present on the edge of the door as well as the door frame. Then measure the thickness of the metal hinge plate, marking a line on the face of the door to suit the hinge for recess.
Step 2: Hinge recess
Use a sharp chisel and mallet to carefully chip away around the pencil marks of the hinge recess. After that, use the chisel to make cuts in the wood around 5mm to match the depth marked for the hinge plate.
Note: chiselling wood in the same direction can cause splitting in the wood. Avoid a singular cut to reduce this risk from happening.
You can now position the hinges.
Step 3: Installing the hinge
Place the hinges into the new recess space on the door. With this, you can mark where the holes will be for each screw and remove the hinge to drill pilot holes to prepare for the hinge attachment.
Note: If you’re using new hinges in an existing door frame, you need to ensure the recess is suitable there as well and once again remove excess wood with a chisel and mallet. You can find out more about existing door hinge issues in our adjusting door hinges guide.
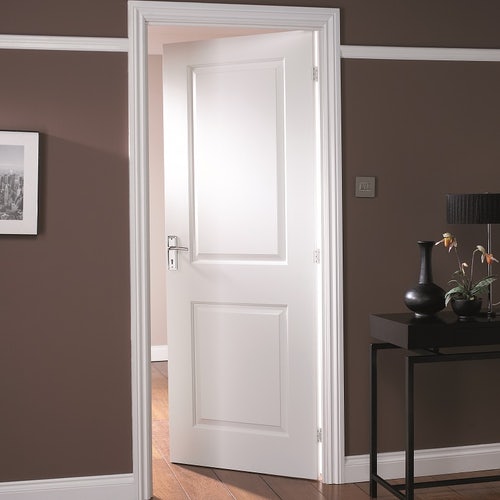 Step 4: Hanging the door.
Only screw the hinges in place with one screw to start. This will allow you to check whether the door opens and closes correctly. If you’re happy with the way the door performs, you can finish placing the last of the screws.
If you would like to decorate your new door with a door handle, check out this guide.
For further advice on internal doors, take a search through Help & Advice section for support on hinges, doors and more.
Was this guide useful?
Mentioned in this project guide:


