
You’ve constructed your new garden gate. What’s your first step when it comes to hanging it? In this handy guide, you’ll find out how to hang a garden gate, as well as a few tips to ensure your newly hung gate fits suitably in place.
Table of contents:
What is a garden gate?
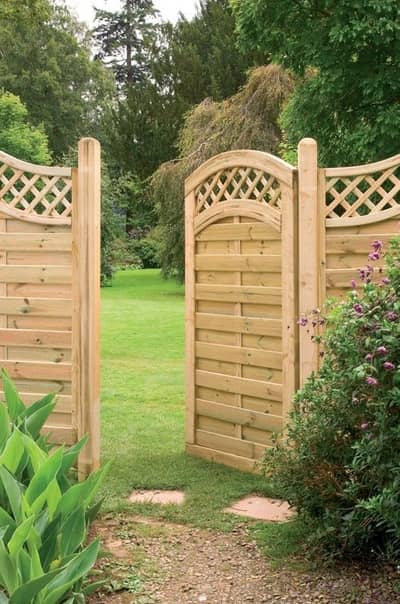
The garden gate is exactly what its name implies – a gate for your garden! The general idea of a garden gate is to incorporate an entrance/exit into your fencing system so you can enter the premises via the rear of your property. You can also use garden gates as shed doors depending on your desired usage. Having said this, most garden gates are ideal for use alongside a garden fence as many are desired for their aesthetic appearance.
Preparation
What you need
- Garden gate
- Hinges
- Door lock
- Timber treatment (if needed)
- Paint (optional)
Choosing a gate
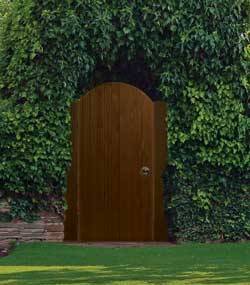
When choosing a gate, it is important you know what type you’re seeking. A timber door is a popular choice. We have many brands available at Door Superstore for you to choose from. Available with an array of finish or unfinished choices to ensure you have the most efficient product.
Treatment
Some doors may require treatment before their installation. Especially if they are timber-based. Exposure to the weather can be damaging for doors so you must take the necessary steps to ensure they have a long life.
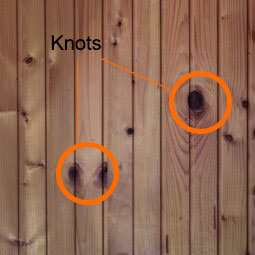
Before painting, you will need to seal the face knots. A not is a visible imperfection in wood grain. They are circular and darker than the surrounding area. This will prevent resin bleed when exposed to ultraviolet light. You will also need to fill screw or staple holes before painting.
Once the preparation for treatment has been done, you can paint the door and get to setting it up.
Keynotes before you begin
It is recommended external doors be set back from the front face of the building. They can also be placed somewhere that is covered by a canopy or porchway projecting not less than about 1.5m no matter the elevation.
Also, make sure that you fit the gate with a suitable weatherboard. No matter the frame cill type fitted, this will prevent droplets of moisture from hanging from the bottom of the door.
Hanging the garden gate
Step 1: Consider the hinges
Recesses for external door hinges are 100mm. Some gates will have specific sides where hinges can be placed, others may allow both sides to have hinges attached. Check with the manufacturer if you’re unsure.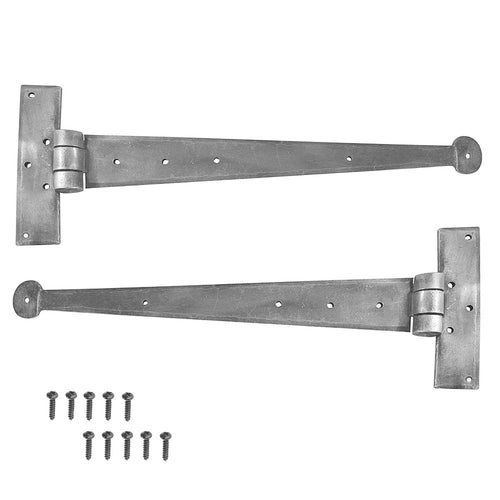
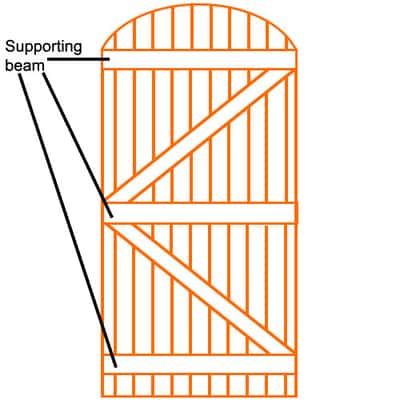
Step 2: Attach the hinges
Find the centre of each supporting beam. This is where each hinge will be screwed into place. For a larger door, you may require three as this will give the door a better chance of lasting longer.
Step 3: Place the gate
Now that the hinges have been placed, you can test how the gate will work. You can use spare pieces of timber to ensure the door is mounted at a suitable height to avoid the risk of the door scraping against the floor throughout its use. Make sure that there is also enough space on either side of the door to avoid it getting stuck. Wood expands and as such you will need to make sure there is enough space so that the door doesn’t get stuck in the frame.
Step 4: Attaching a latch
Latches support the security of your gate and help keep it in place. You can choose from ring pull, thumb latch and many more in a wide variety of colours and styles to suit your ideal theme. It’s important to know that when adding the part where the system will latch onto is placed onto the frame, while the actual hooking part is on the door.

Was this guide useful?
Mentioned in this project guide:


