
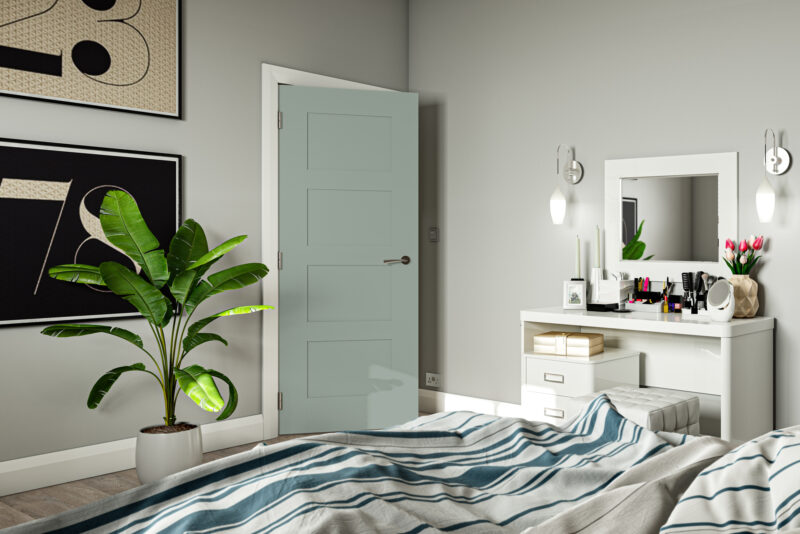
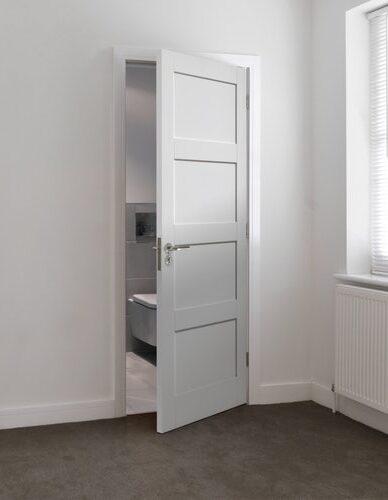
Your average door might currently look like a plain old plank of wood, but that doesn’t mean you have to go out and spend on a brand new door! If the flush door in your property is indeed bare and in need of an upgrade, use this guide to find out how to give your door a ‘facelift’ to make it the perfect internal 4 panel shaker door for your property.
Table of contents
Differences between a flush door and a shaker door
A flush door is a plain, run-of-the-mill door; typically with no special features or textures. Essentially, it’s a plank of plain wood manufactured into a door shape. This can be beneficial because of the freedom you have with the design of the final product. That’s when it’s the perfect opportunity to make changes and create the shaker style door!
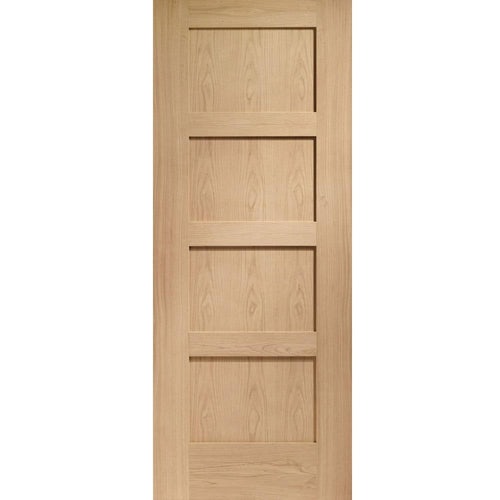
The shaker door is an internal door that is constructed with a simple design – a central panel and a raised rectangular frame surrounding it – which is what makes it popular. The minimalist design is a firm favourite, offering no extreme detailing or profile. Find out more about shaker doors.
How to make a shaker internal door (4 panel)
In many cases, the plywood will need to be cut into various sizes and can typically be very fiddly. However, if you want to cut down costs, review this guide for a simpler way to make your ideal shaker door (see the different number of panel doors in our internal panelled door range).
What you need
- Flush door
- Plywood panels (9mm preferred)
- Saw (table saw if possible)
- Tape measure
- Marking pen or pencil
- Adhesive (wood friendly)
- Decorative tools and accessories (optional)
- New handle (optional)
- New hinges (optional)

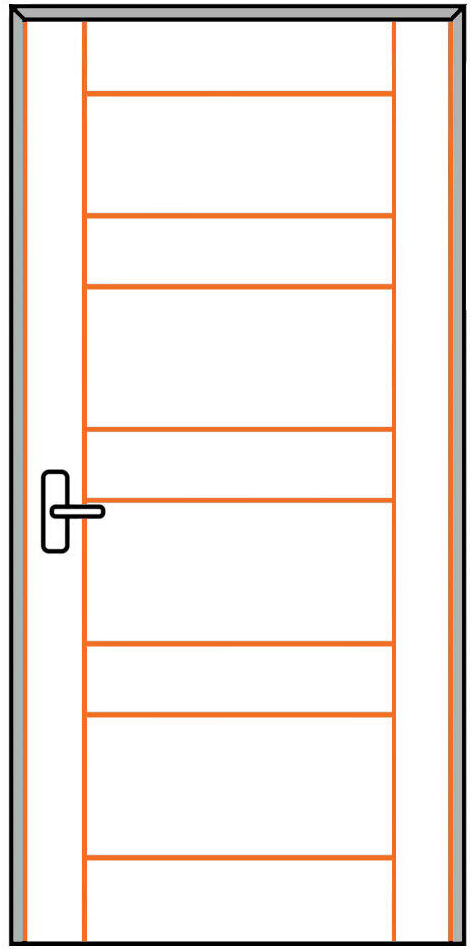
Step 1: Measuring for the panels
You will need to measure the width and height of the door using a tape measure or measuring tool so that the plywood strips fit into place once cut. These measurements can be used whether you’re buying already cut plywood or needing to cut your own if you have enough spare for the project.
If you are looking to have fewer panels on the door or have thinner/smaller doors you want to upgrade, simply adjust the measurements and amount of materials needed to suit the flush door size accordingly.
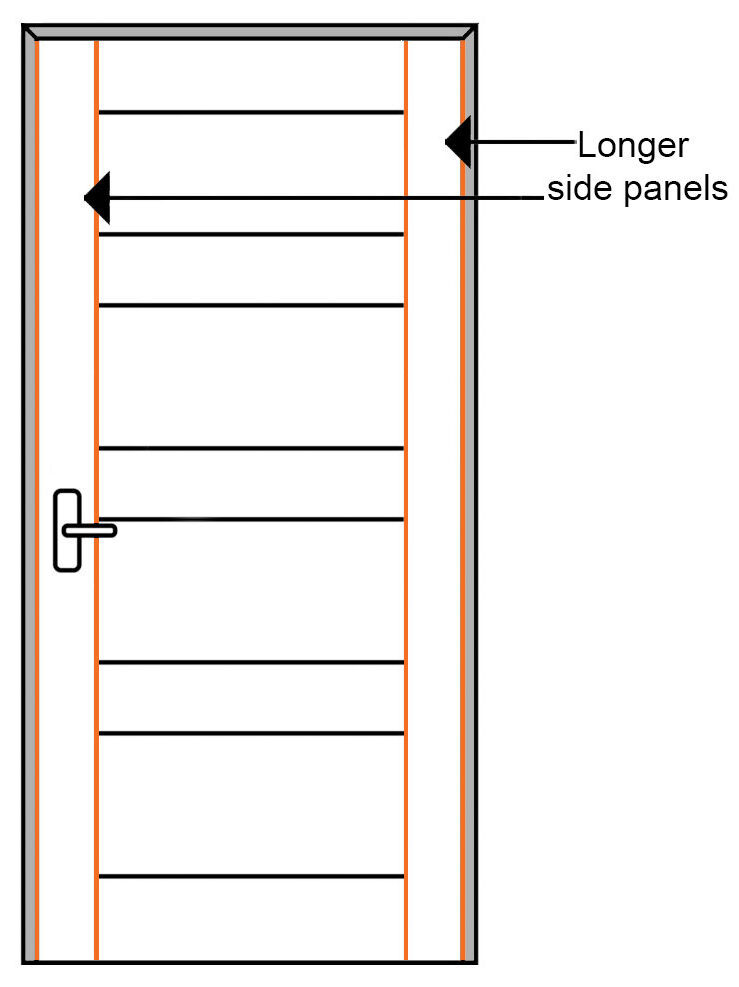
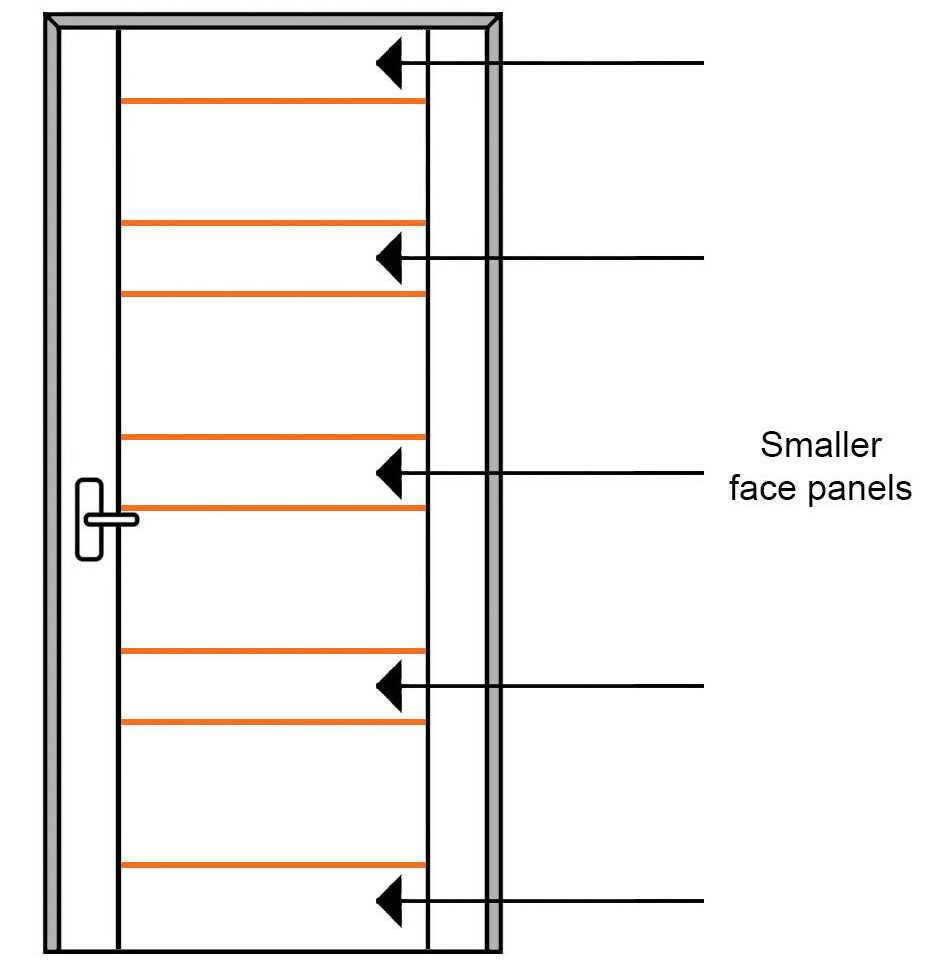
Step 2: Cutting the wooden panels
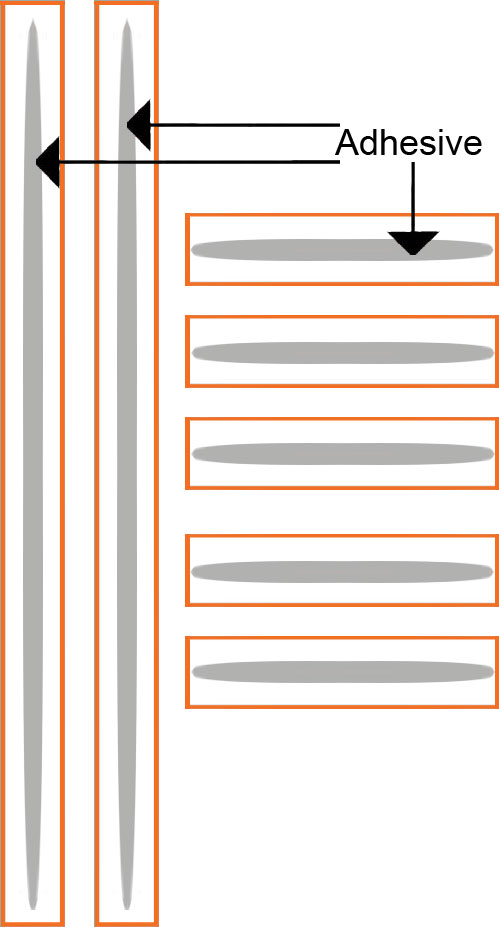
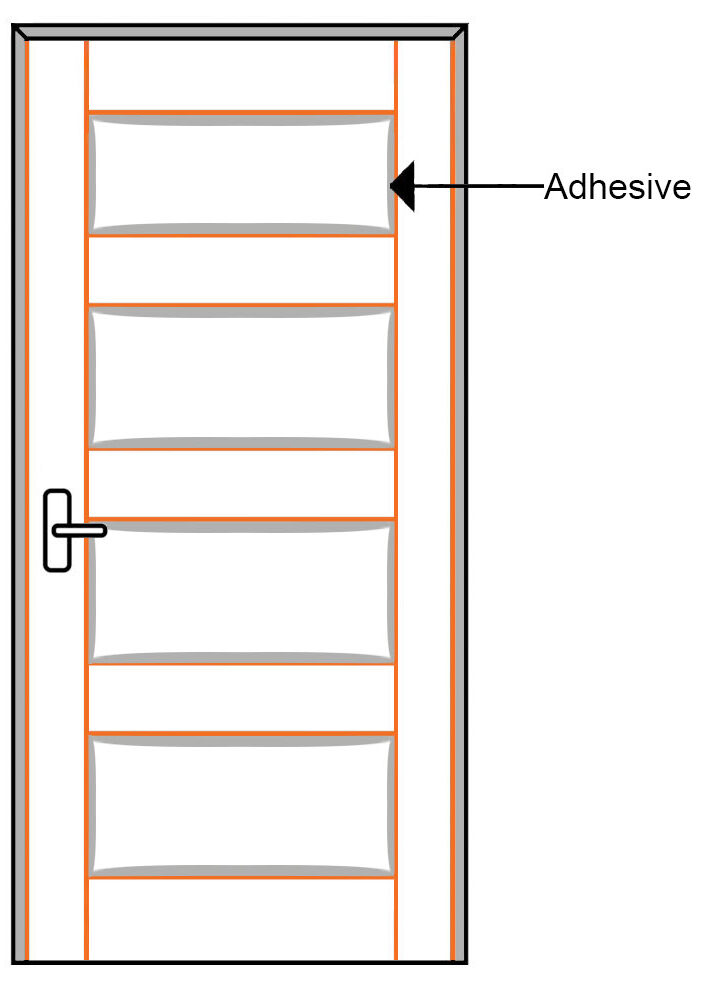
Using a saw (preferably a table saw) cut the plywood into strips. These cuts will depend on the size of the door, but typically a standard door will require five three-inch or four-inch wide panels for the centre and two long strips of plywood of the same width for the sides. Keep in mind that the strips going across the door will need to be cut slightly shorter in length (example below left) because they are going to be glued inside the two longer side strips (example below right) – reduce the panel effect line size until it fits within the longer frame lines on the door.
Step 3: Fitting the panels as a front face frame
Make sure to remove the door from its hinges before applying plywood.
Using adhesive, preferably wood-friendly, place the glue along the back of the panels (example below left) then place the long and short strip panels onto the existing flush door so they are set into the following style (example below right). Use weights to hold these down in place overnight to avoid a wonky design.
Step 4: Finishing the door
From there you can tidy up the door with a wood stain, a lick of paint, locks, hinges and more to ensure that the door suites the theme desired. Congratulations on your brand new 4 panel shaker door!
Was this guide useful?
Mentioned in this project guide:


