Unfinished internal doors and unfinished external doors are common buys among property owners. An unfinished door gives you the freedom to choose its lasting features. Like colour, varnish or stain, at your leisure.
An unfinished door is particularly beneficial if you have not finalised certain decisions. Such as interior decorating colours and styles for your home at the point of sale.
Here at Door Superstore, we’ve created a quick guide on how to finish your door with paint, varnish or staining products.
Table of contents
- How to strip a door
- How to paint a door
- How to paint a flush door
- How to paint a panel door
- How to paint a glazed door
- How to paint a uPVC door
- How to paint a composite door
- How to stain and varnish a wood door
How to strip a door
If you’re repainting or varnishing an existing interior door, you’ll need to strip the door first before applying any paint or varnish. If your door is new and unfinished, you can move straight to how to paint a door, or how to stain and varnish a door.
There are many ways to strip a door, but the most common method uses a chemical stripper. When using a chemical stripper, you must read the manufacturer’s instructions carefully. You must wear protective goggles and gloves, too. The chemicals can be abrasive and cause reactions to your skin.
Step one: Use an old paintbrush to apply the chemical stripper to the door
Ensure it gets right into any cracks, corners and crevices. Once you’ve applied the stripper to the whole door evenly, leave it for the recommended time.
When the chemicals begin to react, you will see bubbles forming on the door’s surface.
Step two: Test a section of the door with a flat-bladed scraper
Once the recommended time has passed, the paint should come away from the door easily to reveal the wood underneath. If it isn’t coming off without effort, you may need to leave it for longer.
Start by stripping the paint from the flat areas of the door. Then use a shave hook to scrape the paint away from corners, crevices and mouldings.
Step three: Neutralise the door surface
After you have removed all the paint, use water or white spirit to neutralise the surface of the door. The manufacturer’s instructions will inform you of the most suitable substance for your project.
If you do not neutralise the surface of the door, the door paint, stain or varnish may struggle to bond with the surface. This may cause the chemical stripper to leach out of the door in the coming months or years.
How to paint a door
We recommend painting the door before fitting it.
If the door is already in place, take it off the hinges if possible. This ensures you can create an even layer of paint on all sides of the door.
Preparation: Fill cracks, splits and crevices
Before painting the door, use wood filler to fill in any cracks, gouges or crevices. Once you’ve applied the wood filler into any cracks, leave it to dry. Then sand down any rough or raised edges.
If preferred, you can sand down the whole door using an electric sander. If you choose to do this, ensure you do not damage any decorative mouldings.
For uPVC especially, make sure to clean the surface using soapy water and a sponge. Then rinse this off and dry the door before painting.
Painting a flush door
If you’re painting a plain-faced or flush door, it is important to spread the paint evenly across the surface. Any blemishes or areas with thin or thicker paint are more obvious on a plain flat surface. So, if possible, using a small roller may be helpful.
We recommend starting by dividing the front and back doors into sections. Eight sections should suffice. Then paint each section individually, from left to right with vertical strokes. Try to blend each section before the paint dries. Leave painting the edges until the end to finish the door.
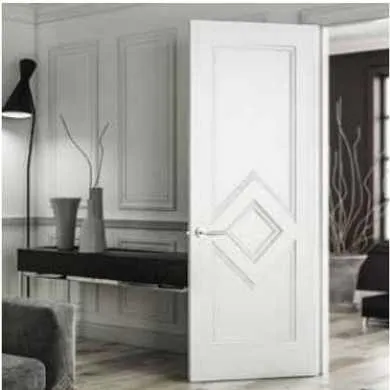
Painting a panelled door
If you’re painting a panelled door, we’d recommend painting the panels first. Then paint their surrounding mouldings.
After that, move to the central vertical piece of the door, followed by the cross rails. Paint the top one first, then the middle and then onto the bottom cross rail.
Once that’s done, paint the outer vertical pieces of the door, followed by the door edges.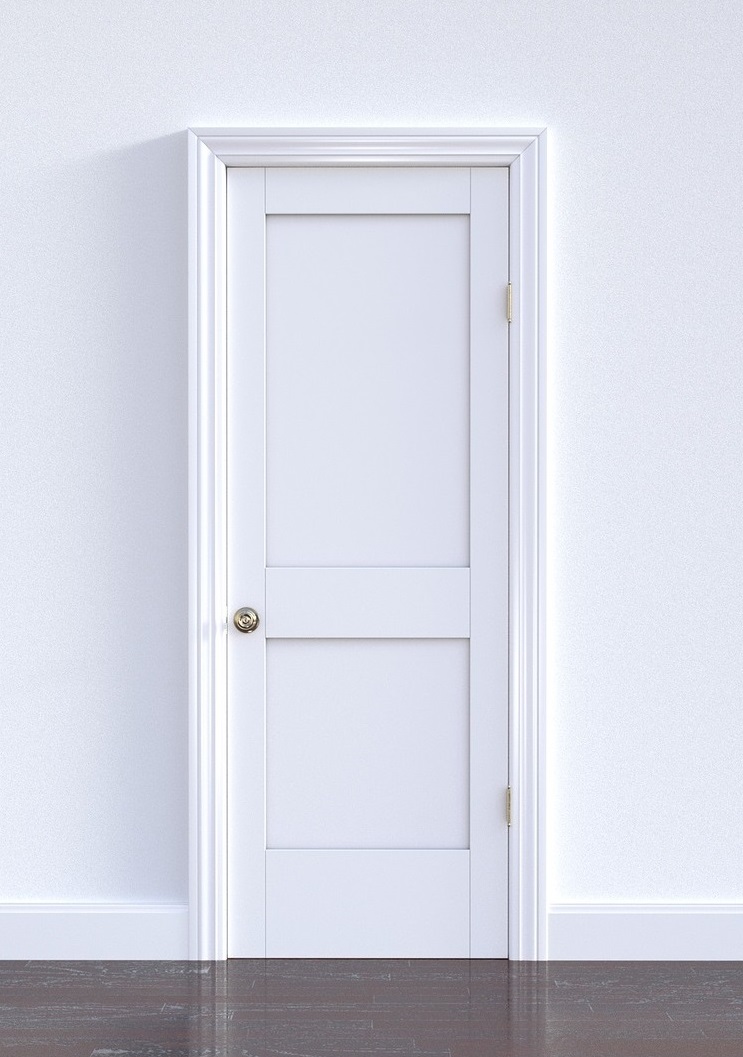
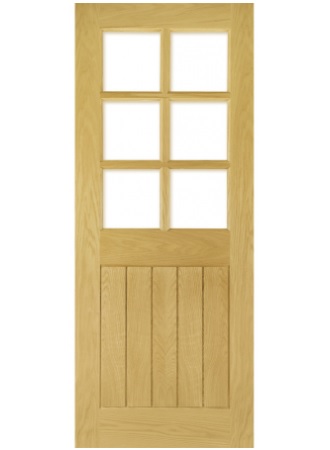
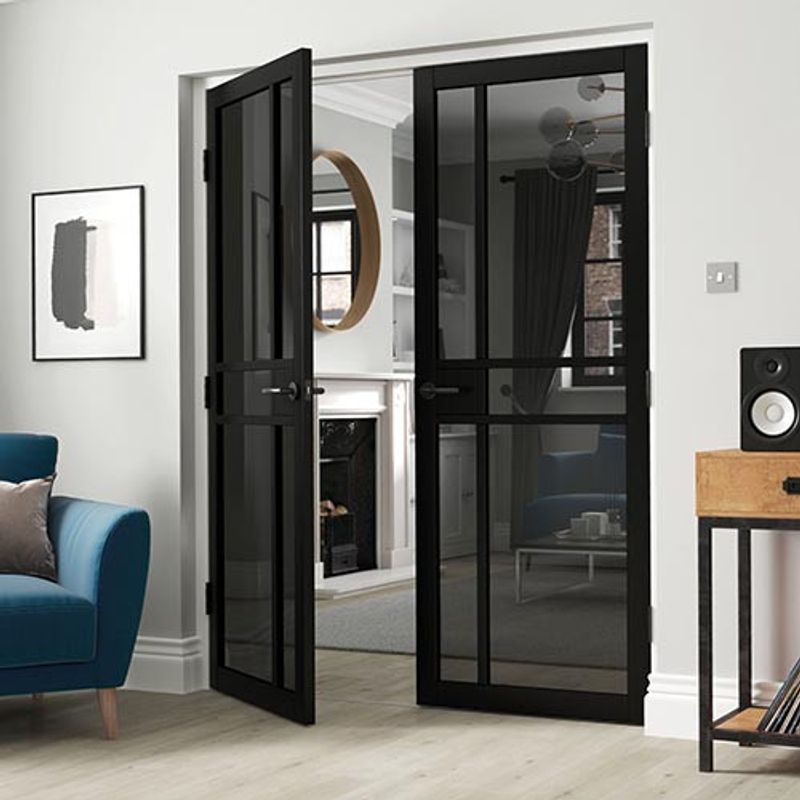
Painting a glazed door
If you’re painting a glazed door, use masking tape, or an equivalent material to protect the glass from paint.
Lay the masking tape around each glazing panel. This lets you paint the edge of the door without getting any paint off the glass.
Start by painting the mouldings around the glass. Then follow up with the top cross rail, then the middle and the bottom cross rails. As with a panelled door, paint the outer vertical pieces of the door, and finally, paint the edges of the door.
When you have painted all the surfaces evenly, leave the door to dry in a ventilated area. Do not attach any door hardware, such as handles and hinges, until the paint has completely dried.
Painting a uPVC door
If you’ve ever wondered “can you paint a uPVC door?”, then you’re in luck because you can indeed paint a uPVC door.
If you’re painting a uPVC door, use painters tape or masking tape to cover handles, letterboxes and other features you want to protect. If you plan to paint them, do so by taking them off the door to paint and reattaching them afterwards.
You’ll also want to tape over glazed panels. This will protect them from paint splatters.
Now apply the primer – this is essential – before you apply the paint. Use a brush (size will depend on your door’s design) or roller (short foam or short pile). Some uPVC door paint brands may indicate not to use primer, but applying a primer ensures a longer-lasting finish.
Once you’ve applied the primer and left it to dry, you can now paint the uPVC door. Start at one of the top corners, working across and down. Painting the door in sections will help minimise the risk of uneven patterns.
Now use a brush to paint the edges and details first. Start with the section at the top then move to the bottom. Now allow to dry (this will take about two to four hours). Once dry, wipe down and add another coat of paint then leave it to dry again.
Adding a clear coat is optional if you want further protection.
Painting a composite door
When it comes to the question “can you paint a composite door?’ this is a little more complicated. We explain further in our composite door buyer’s guide. Head on over if you wish to find out more.
How to stain and varnish a wood door
Applying a wood stain to a door will colour the wood in an enhanced yet natural way. It penetrates the wood to provide a long-lasting effect.
Depending on the stain you choose, it can help to enhance the grain of the wood and provide the appearance of a certain species of wood. In some cases, it can help to protect the wood.
Step one: Test the wood stain before application
It’s important to test the wood stain on a piece of wood similar to the door before applying it to the whole door. Wood stain can create a slightly different appearance from that on the tin. However, this will depend on the species of wood you use it on.
Step two: Remove lost dust and debris
Before applying the stain, brush the door down, removing any loose material or dust. Then use a paintbrush to apply the stain.
If staining a panelled door, we’d recommend starting to stain the panels, followed by the mouldings and then the rest of the door. For the best effect, try to follow the grain of the wood with the paintbrush wherever possible. Avoid overlapping strokes!
Step three: Remove excess stain
Once the wood stain has been applied, but before it has dried out, use a lint-free cloth and rub it over the door, to remove any excess stain and even out the layer of stain.
Step four: Ensure you are in a well-ventilated room
Once the wood stain has dried, the next step is to apply the door varnish.
Make sure you’re in a well-ventilated room. This helps speed up the drying process and avoid any health issues that can be caused by fumes from varnish.
Step five: Apply the first layer of varnish
There are many types of varnish for doors. When applying varnish, we’d suggest wearing protective gloves. Typically, a door will need two or three coats of varnish to create enough protection. The best way to varnish a door will depend on the style of the door.
When varnishing a door, start at the top and varnish in stages down to the bottom of the door.
Having said that, if you are varnishing a panelled door, varnish the panels individually first. Start with the top left to bottom right. Then varnish the centre vertical panel, the cross rails from top to bottom, and then the outer edges.
Step six: Use fine sandpaper on the first layer of varnish
Once you have applied the first layer of wood door varnish, allow it to dry and then rub the door down with fine sandpaper. This will help to create a surface to which the next layer of varnish will adhere more easily. It also helps to remove any rough patches or bubbles.
Once you’ve sanded the varnish down, remove the loose dust with a damp cloth and let the door dry completely. Once dry, you can apply the next layer of varnish and repeat the above steps.
Don’t forget, as with painting a door, to allow the door to dry completely before attempting to fit any door hardware or accessories.

Was this guide useful?
Mentioned in this project guide:


