8th July 2026
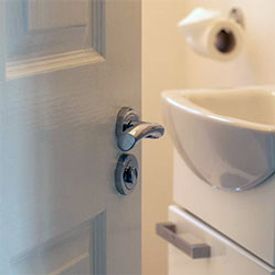
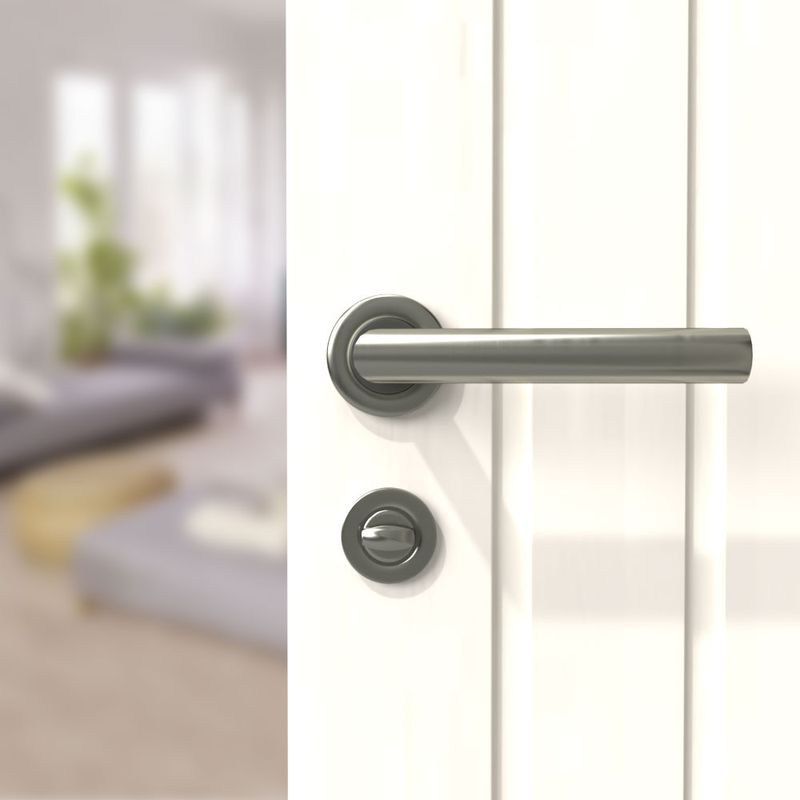
Looking for a bit more privacy in the bathroom or bedroom?
Let’s face it:
None of us like those awkward, extremely uncomfortable situations when someone just barges in out of the blue without knocking first.
Luckily, there’s a simple bathroom door lock solution to put all this unpleasantness to an end. Today, we’re going to show you how to fit a thumb turn lock.
It’s a little thing that can make all the difference in the world.
Without further ado, let’s dive right in.
Table of contents:
- What is a thumbturn lock?
- Are thumb turn locks safe?
- Tools you’ll need
- How do you fit a thumb lock?
- How to remove a thumb lock
- Enjoy improved privacy with a thumbturn lock
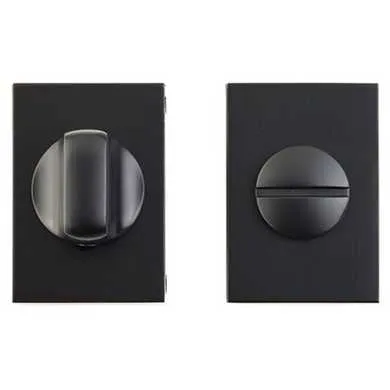
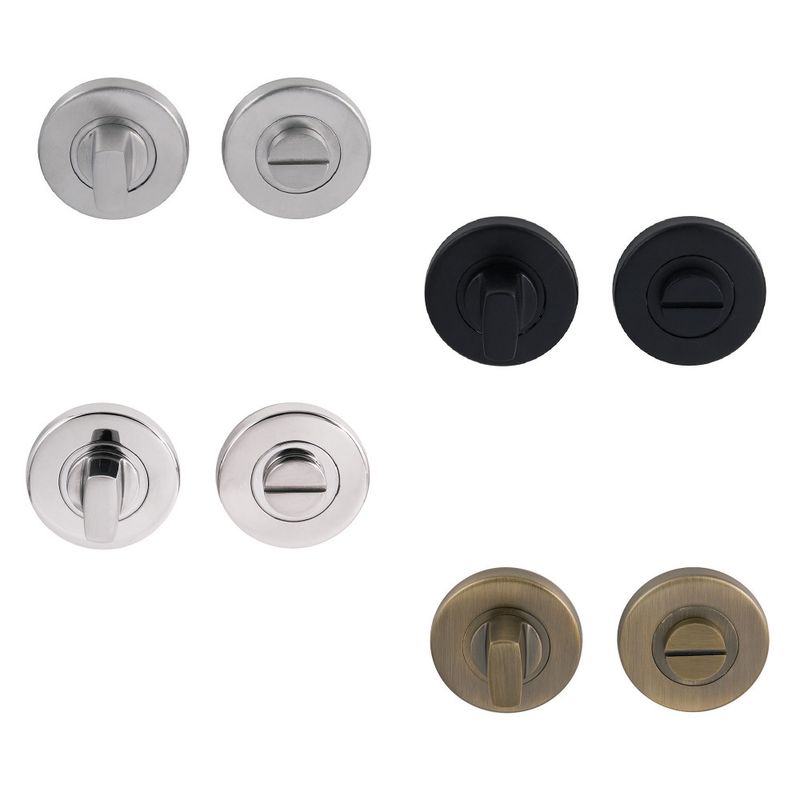
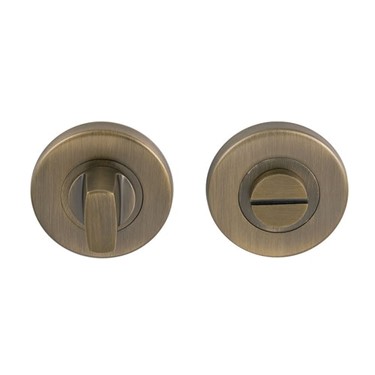
What is a thumbturn lock?
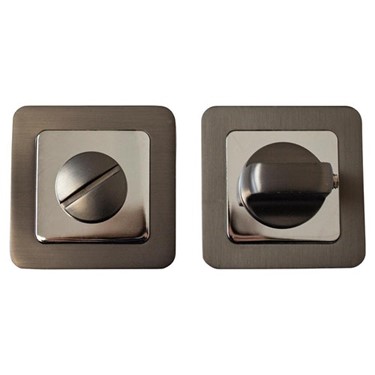
A thumb turn lock, sometimes also called a bathroom lock, is a simple security lock typically installed on bathroom or bedroom doors. It’s convenient because it has a mechanism that allows you to open it from the outside in case somebody locks themselves in accidentally or is otherwise unable to get out.
So, a thumbturn lock for doors is ideal if you have young children, older people or people with disabilities in the house.
But how does a thumbturn lock work exactly, I hear you wondering.
It’s quite simple:
You turn the knob clockwise to release a deadbolt which locks the door securely. Then, you turn it anti-clockwise to unlock the door. It’s a straightforward yet effective and elegant solution that will give you the peace of mind you deserve.
Are thumb turn locks safe?
Some turn thumb lock types have a Yale thumb turn lock or a Euro lock thumb turn mechanism, meaning you can use them on external as well as internal doors. They’re a secure and convenient option since you don’t need to have your key to quickly lock or unlock your door from the inside.
Additionally, they’re quick and easy to replace at a very reasonable place, making them highly popular with landlords in particular.
Naturally, safety is less of a concern for bathroom or bedroom doors, where privacy is the main issue.
Tools you’ll need
Fitting a bathroom privacy lock is a ‘medium-difficulty’ home improvement task. Depending on your level of DIY expertise, it may take you up to a couple of hours to see it through. So, plan ahead and set aside sufficient time.
Once you’ve decided to give it a go and purchased a bathroom thumb turn lock of your choice – there are plenty of excellent options out there – you’ll need to assemble the following tools:
- Electric drill with drill bits
- Wood chisel
- Hammer
- Screwdriver
- Adjustable square
- Measuring tape
- Hacksaw
- Marker or pencil
- Safety glasses
How do you fit a thumb lock?
Now that you’ve got all the tools you need nicely laid out, it’s time to get cracking with your bathroom door locks! Make sure you’ve secured your door with a wedge or a similar object, so it doesn’t move around. Then, follow these steps.
Step 1: Measure the location of the lock on the door
You can fit the lock either above or below the door handle, so long as it’s easily accessible – that’s entirely up to you. Once you’ve decided on the exact location, measure the size of your lock and use the adjustable square to mark it on the door with a pencil.
Then, find the centre point and mark that – this is the point you’re going to drill through in the next step.
Step 2: Drill the hole for the lock
Use an electric drill with a suitable drill bit (its diameter should be the same as the diameter of the lock) to drill a hole for the lock. There’s no need to drill further into the door than the width of the lock. So, it’s good practice to wrap some tape around the drill bit at the precise point you need to stop.
Now comes the tricky part:
It’s vital to keep the drill bit as straight and as parallel to the door as possible.
Why?
Because if you don’t, you’ll end up drilling perilously close to one of the door edges.
Once you’re done drilling, use a vacuum to hoover the wood shavings from the hole and keep a tidy workplace. Insert the lock to check whether it fits and ensure the pencil marks around the faceplate you made earlier are correct.
Step 3: Create sufficient space for the latch plate
Start by carefully tapping on the pencil marks with the chisel and hammer. Then, tap small horizontal sections inside the area approximately 2mm from each other. Doing this will make it considerably easier for you to remove the wood.
Next, chisel out each layer by gently tapping it at an angle. To avoid injury, always chisel away from your body. Once you’re done with the first layer, clear the surface and place the bolt and latch plate back in.
Have a closer look:
Is the latch plate flush with the door? If that’s the case, congratulations, you can move on to the next step of our guide on how to fit a thumb turn lock. If not, you’ll have to chisel out another small layer first.
Keep in mind that it’s absolutely crucial that you take your time in this step so as to avoid damaging the door.

Step 4: Drill holes for the handle and thumb turn
First, mark the position of the thumb screw on the side of the door. Do the same for the screw device on the other side of the door – this is the bathroom privacy lock mechanism that allows you to unlock the door from the outside.
Using an appropriately sized drill bit, drill through the door from both sides – they should meet comfortably. While it’s possible to drill all the way through the door from one side, it’s best not to try it in order to avoid splinters or structural damage to the door.
Step 5: Fit the thumb turn and screw mechanism
Push the thumb turn into place on the inside of the door, followed by the screw mechanism and brass plate on the outside. Check if it works by turning it in both directions.
With the help of a screwdriver and the provided screws, screw the bolt firmly into place. An electric screwdriver will make your life a lot easier here. However, there’s no need to panic if you haven’t got one, as a manual one will do the job just fine.
Next, go ahead and do the same for the thumb turn and screw mechanism. Once again, double-check to see if the mechanism turns freely in both directions. This way, you’ll avoid any potential thumb turn lock problems down the road.
Not long to go now! All that’s left is to install the rebated thumb turn mortice lock section on the door frame.
Step 6: Install the rebated mortice section
Measure the bolt and mark the location where you need to drill a hole in the door frame. Then, mark the position of the faceplate and drill. Follow the process outlined in Step 3 above to chisel out a large enough recess for the strike plate. Don’t forget to vacuum the wood shavings while you’re working on this and don’t rush.
Once you’re satisfied the strike plate is flush, drill holes and screw it firmly into position.
And that’s how you fit a thumb turn lock.
As long as you’ve followed all the steps diligently, the lock should work like a charm!
How to remove a thumb lock
Chances are, you won’t have to worry about replacing that thumb turn door lock you’ve just proudly fitted for years to come. Unfortunately, wear and tear will inevitably take its toll.
So, when your lock is no longer fit for purpose, you’ll want to replace it.
The good news is:
It will only take you a few seconds. Start by removing the retaining screws of the bolt. Then, unscrew the thumb turn, followed by the safety screw mechanism on the outside. At this point, you should be able to easily take the whole mechanism apart.
Just make sure you’ve bought an appropriately sized replacement before you dispose of the old one!
Enjoy improved privacy with a thumb turn lock
Give yourself and your loved ones the extra privacy everyone deserves with easy-fit bathroom door locks. Unlike ugly old door bolts, these elegant thumb turn locks won’t ruin your interior décor.
In fact, they’ll enhance it while allowing you to enjoy a long leisurely bubble bath or a blissful, stress-relieving power nap without the risk of any unwanted interruptions. Now that you know just how to fit a thumb turn lock, you don’t have to put up with those anymore.
And because it’s possible to unlock a bathroom lock thumb turn mechanism from the outside, it’s a practical as well as useful choice if you have younger children or family members in need of assistance in your home.
Was this guide useful?
Mentioned in this project guide:


